A CONVERSATION ABOUT PERCEIVED VALUE:
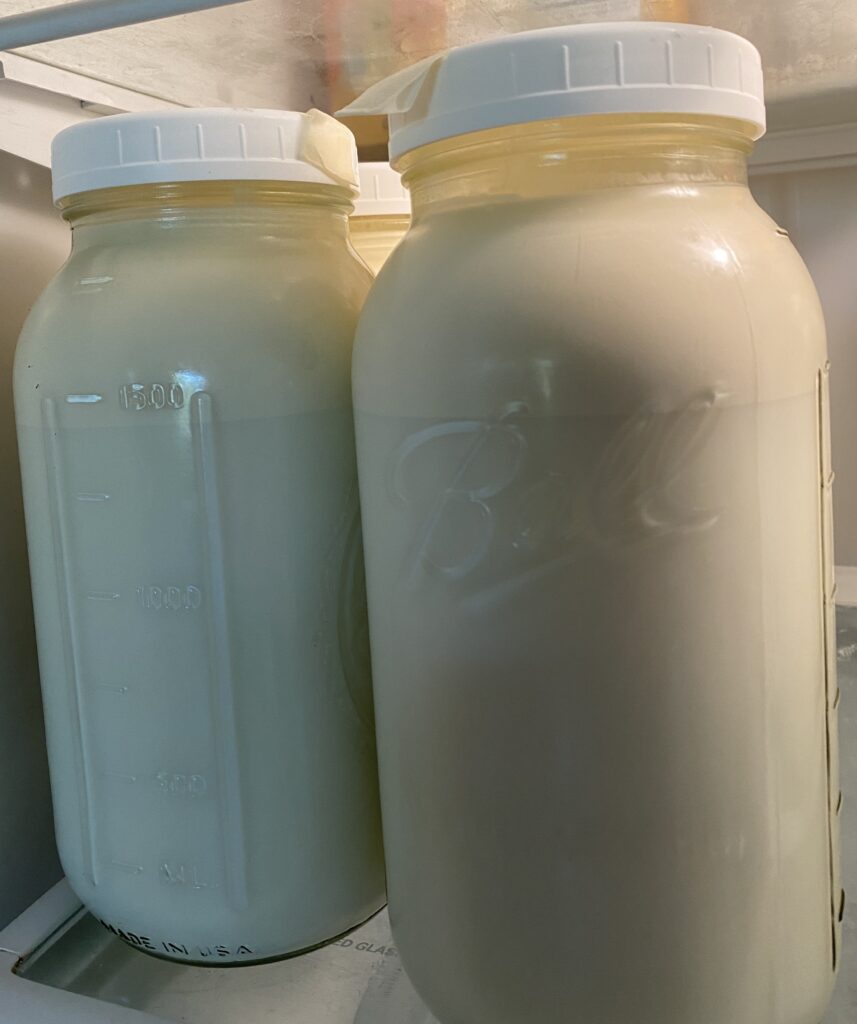
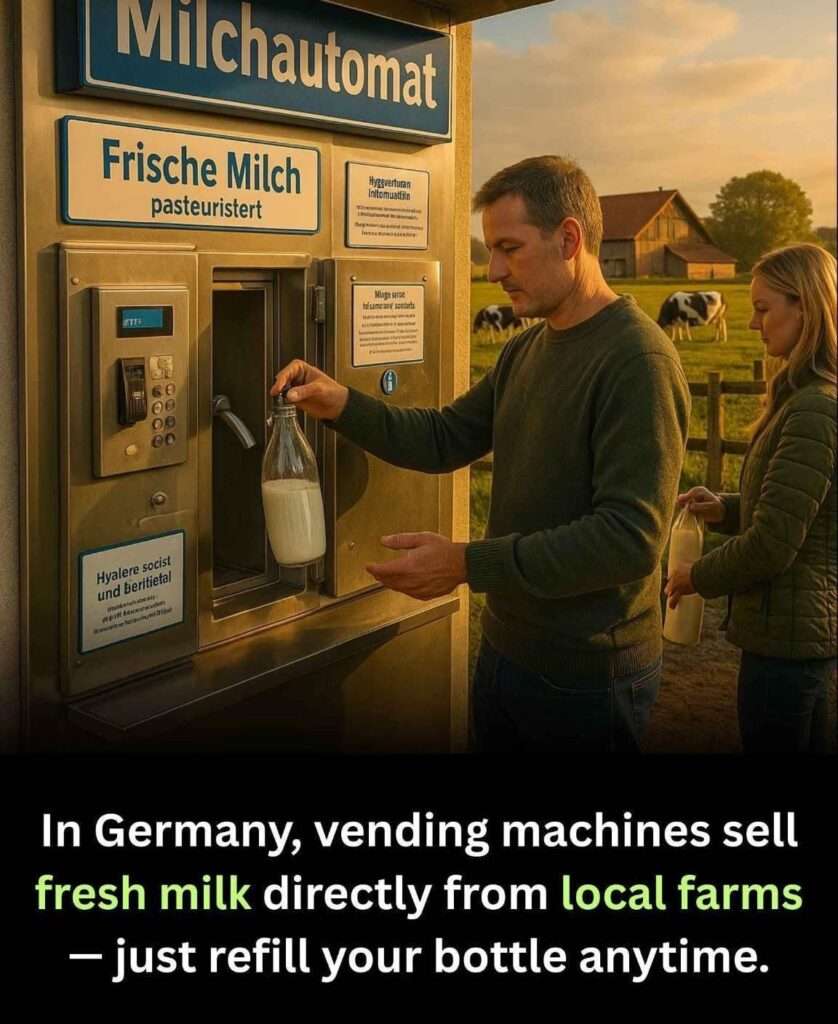
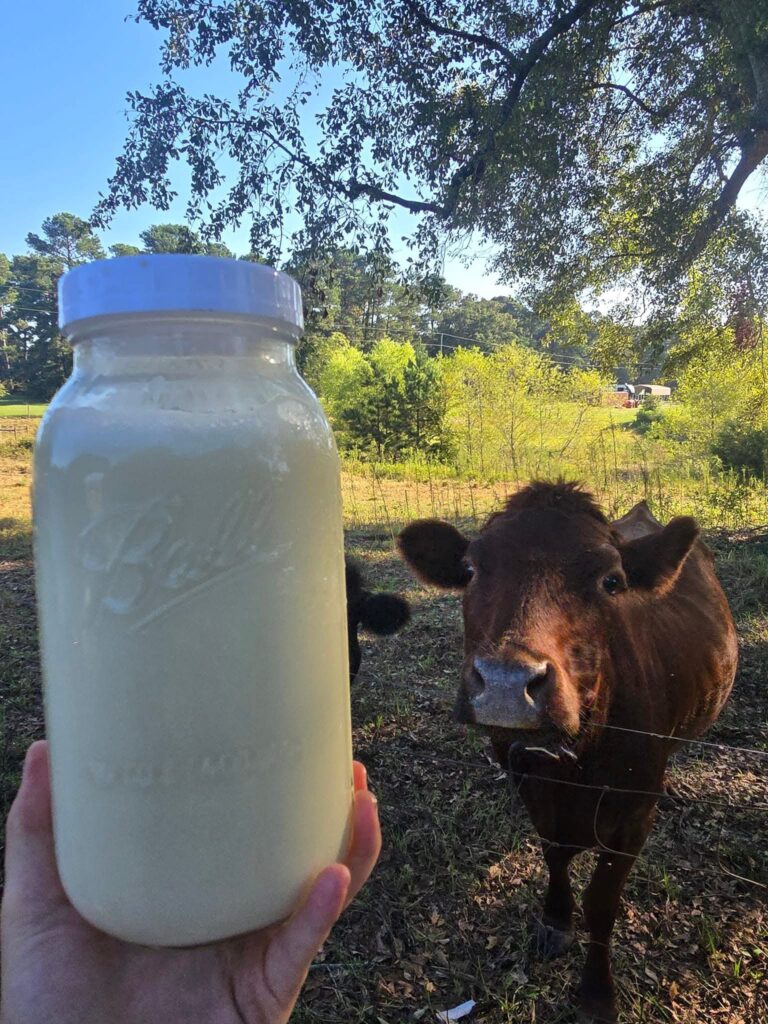
A customer asked me how much it would cost for a gallon of raw milk .
I gave them a price of $15/gallon.
The customer responded: That’s seems really high.
I asked: What do you think is a reasonable price for this?
The customer answered: $4 maximum
I responded: Ok, then I invite you to do it yourself.
The customer answered: I don’t know how to.
I responded: Alright, then how about for $4/gallon, I’ll teach you how to. So besides saving you $11, you’ll learn valuable skills that will benefit you in the future.
The customer answered: Sounds good! Let’s do it!
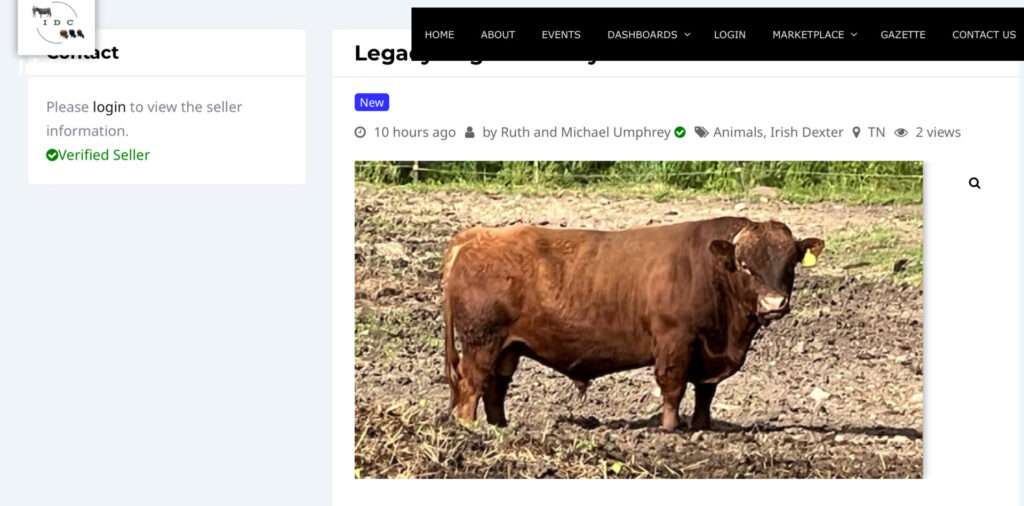
I responded: Great! To get started, you are going to need some things. You will need a cow (≈$3000), 45# of dry matter quality feed A DAY, feeders, waterers, an area to let her be a cow, a shelter, a clean area to milk, a milking machine or supplies to hand milk into, preferably electricity for this indoor area and heated water, countless gallons of water, fencing to contain this cow, etc.
Not to mention, there is a very real possibility that your single cow gets sick and doesn’t produce, a bull or someone to AI her because no pregnancy, no milk. Injury, illness, and unexpected weather conditions are always present. Now, you are back to square 1 if she doesn’t breed, dries up, get sick, or dies.
The customer answered: But I don’t have any of those things and I can’t justify buying all of these for a gallon of milk.
I responded: Ok. Well then for an additional $11/gallon, I can rent my supplies, building, and supply hay/grain/minerals/pasture to you.
The customer answered: Okay. That’s fair.
I responded: Great! We will start the project on Monday.
The customer answered: I work Monday through Friday. I’m only available on the weekends.
I responded: If you want to learn from me then you will need to work when I work. We milk everyday, 2x day, so you will need to be here at least 2 hours every morning and every night year round.
The customer answered: That means I’m going to have to sacrifice a lot of my time!
I responded: That’s true. Remember, when you do a job yourself you need to account for unproductive factors.
The customer answered: What do you mean by that?
I responded: Milking a cow doesnt just take a couple hours morning and night. It takes time to muck out her area, town trips to pick up cleaning supplies/teat dip, trucking for hay. It takes time to bottle the milk cleanly, it takes jars, it takes more cleaning of equipment and facility, it takes wear and tear on your milking equipment and feeding equipment. And thats all on top of your other chores/responsibilities.
So we will see you Monday morning, 6 am.
The customer answered: At 6am?!! My work day doesn’t usually start until 8am!
I responded: A cow thrives on a set schedule, milking 2x day should be as close to 12 hours apart as can be, so if you want to start later, that’s ok. But you will need to come back in the evening after your full day of work and milk again at that time, so if you want to start at 8 am, you will milk again at 8 pm. After clean up and bottling milk… you can head home around 10 pm. Saturday and Sunday included. Blizzards or 100 F. No days off here.
The customer answered: You know, I’m realizing that a lot more goes in to quality food than what a customer sees in the finished project. Your proposal of $15/gallon is very reasonable. I would like you to milk and have it ready for me to just pick up..
CONCLUSION:
When you pay for a job, especially a custom job, (whether it’s a physical project or digital project or GROWING AND RAISING FOOD) you pay not only for the material and the work to be completed. You also pay for:
✔️ Knowledge
✔️ Experience
✔️ Custom Skills
✔️ Tools
✔️ Time to plan
✔️ Time to prepare
✔️ Professionalism
✔️ Work Ethic
✔️ Excellence
✔️ Discipline
✔️ Commitment
✔️ Integrity
✔️ Taxes
✔️ Licenses
✔️ Sacrifices
✔️ Liabilities
✔️ Insurance
If you desire fresh, healthy, locally grown food, please don’t disrespect a farmer by trying to get them to lower their prices.
If their proposal exceeds your budget, there’s nothing wrong with going elsewhere.
Just remember.. you get what you pay for.
👉🏼 FARMERS: Know your worth and be confident in it.
👉🏼 CONSUMERS: Recognize their worth and be respectful of it.
Sharing this to support all my friends, family and clients who are Farmers, Entrepreneurs, Business Owners and Tradesman.
-Unknown and edited