Measuring your property field using phone App
The Distance and Area app on your smartphone will measure any pasture. Search for it in your phone app store.
Measuring your property field using phone App Read More »
TechnologyMenu +
Farm equipment
The Distance and Area app on your smartphone will measure any pasture. Search for it in your phone app store.
Measuring your property field using phone App Read More »
Technology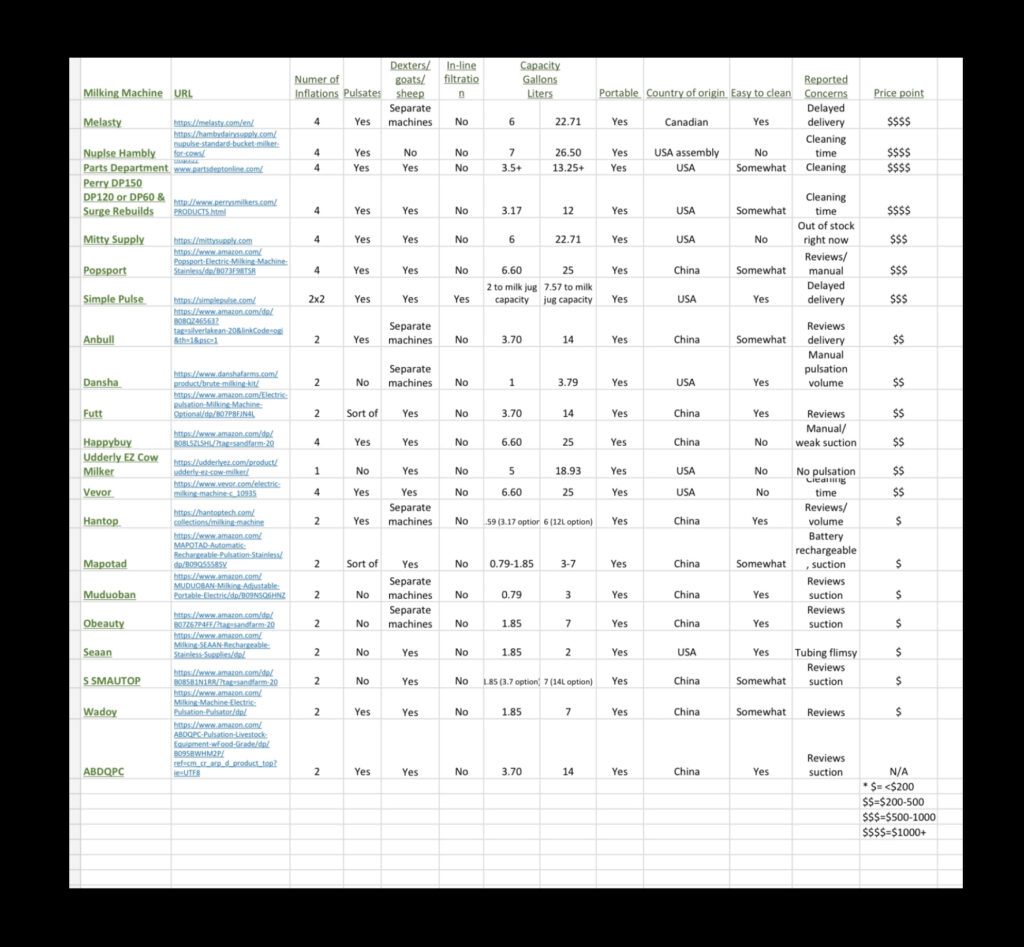
The milking machine market can be so confusing. In an effort to help you wade through what is currently on the market, I created this spreadsheet.
For the budget conscious, make sure that it has a true pulsation, an added bonus is ease of cleaning.
While I have tried to include everything on the market, I am sure I have missed a few.
https://1drv.ms/x/c/c79950faab991348/EUgTmav6UJkggMeSOwAAAAABhxnazfsIBA0-qpk3ObFlAQ
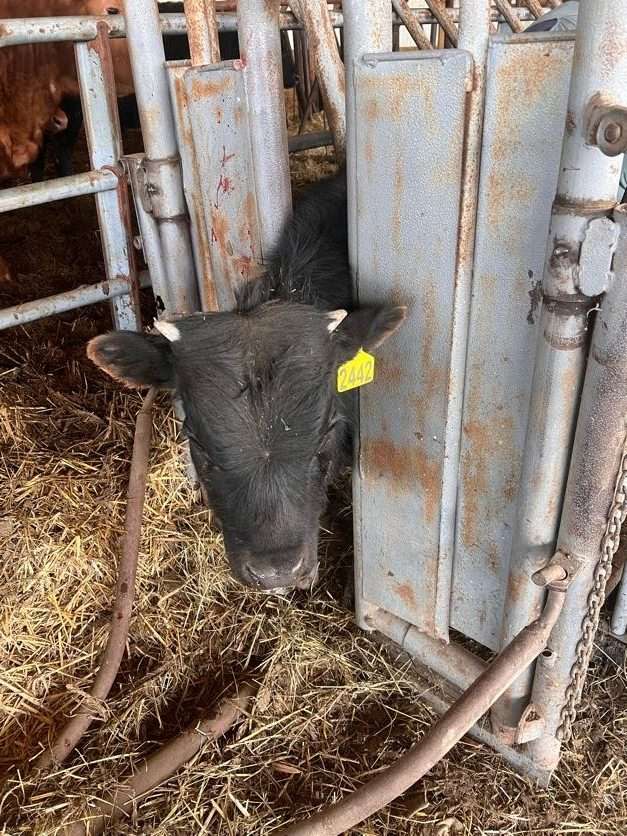
This podcast sent me into a few fits of laughter with the speaker’s dry humor. Obviously this experienced vet has been around, and has seen a few things. And while Dexter cattle (including the bulls) tend to be smaller and easier to handle, I highly recommend implementing the recommendations in this podcast. Not only will it make handling your animals easier, it will set you up for a more successful relationship with your vet and your neighbors.
Building a Solid Foundation Read More »
Farm Management
I believe that you should learn to hand milk your Dexters and other dairy animals. For me the journey was to master hand milking. I moved on to a machine after I was milking several Nubians and Dexters. My body was telling me I needed help.
I have never regretted this, as you have to strip out after the machine and I am prepared for days with no power.
Here is a podcaster from the Family Milk Cow and her perspective.
Man vs Machine When Milking a Cow Read More »
Milking
A chute that fits the unique type and size of livestock.
The Ideal Squeeze Chute Read More »
Farm Management
Sprouts (also known as “fodder” when used for animals) are economical to produce. Typical cost of production is less than 6 cents per lb. This includes seed, water, and electricity. Although sprouts cannot replace 100% of an animal’s diet, they have been scientifically proven to increase the digestibility of other feeds in the gut. That means your hay or grain will become more valuable to the animals you feed.
Have You Considered Fodder To Feed Your Livestock? Read More »
Homesteading
Milk Cow Machine Review!! Part 1 Is It Worth It?
The truth about Amazon milking pumps – Too Complicated Read More »
Milking
Afe you just getting started with cheese making..
Basic Cheese making supplies Read More »
Milking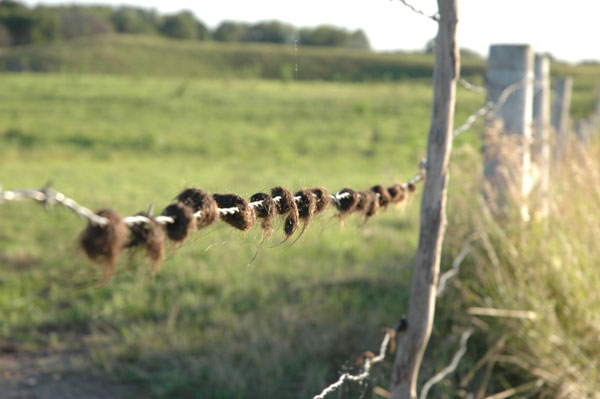
Corner posts are undersized, or not deep enough
https://www.beefmagazine.com/grazing-systems/7-common-cattle-fencing-mistakes
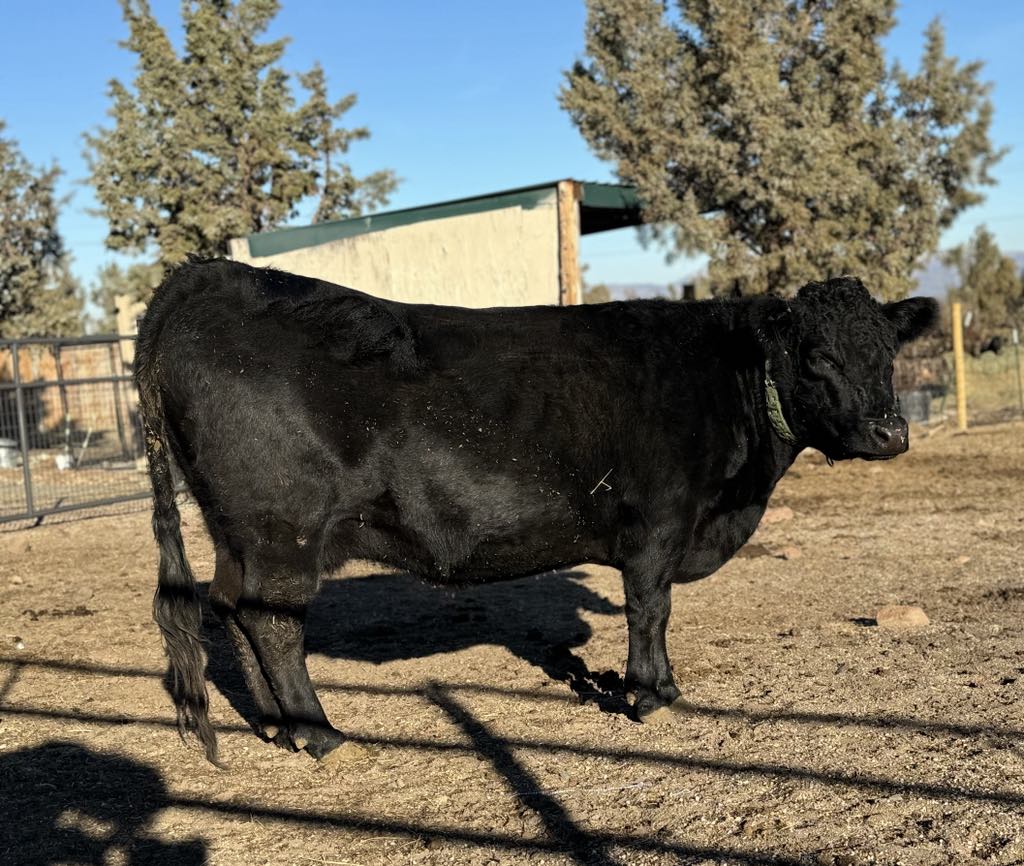
Photo from Deanna Clark, Lane’s End Iggy
There are over 270 million cows producing milk across the world with about 10 million in North America alone and now you own one or more of those milk cows, congratulations! I bet you spent lots of time considering age, breed, reproductive status and temperament before you got your precious new cow and now I’m here to offer you a general rundown of a basic milking procedure.
Everything starts with routine. Cows are very much creatures of habit and will do best with a set time schedule for milkings. A good routine starts well before its time to actually milk, especially for 1st time heifers. Begin by setting up your milking area and bringing the heifer or cow into the area at least once a day before she calves and feeding grain or brushing her. Once she does calve, it is important to stick to that routing, milking every 12 hours is the industry standard for time between milkings.
Cleanliness is next to Godliness. Making sure your udder is clean before attaching the milk machine is a must! Start with a warm damp rag or dairy towel and vigorously clean each teat and the udder around it to remove any manure or debris. The key here is to not be shy about really getting in there. This action is the first thing that will trigger a cows let down. Unlike some animals, cows seem to have a will of their own and if they don’t want to give you their milk, they wont! Only happy cows give milk is a true statement. You will notice her teats turn from small prunes to a plump shape as you are cleaning her off. Sometimes they even begin to stream milk on their own. This is the sign she has let down her milk.
After she is all clean it is time to apply the pre-dip. Iodine or chlorhexidine
are the two most common used. Both sanitizes the teats before the machine goes on. When you apply it, make sure to let it sit on for the recommend amount of time so it can do its work, don’t rush this step. Use a clean paper towel,1 per cow, to wipe off the disinfectant. Next you should milk out a small amount of milk from each teat into a container or strip cup. Pay special attention to its color, smell, and consistency; checking for any lumps or strings which can be a first sign of mastitis. If all looks good you are now you are ready to attach your claws/inflations.
Milking with a good machine like the SimplePulseshould only take 6-10 min from start to finish. Any longer than this and you have a settings or pressure issue. Cows liked to be milked at around 60 pulses per minute of the pulsator. When you first get a machine from SimplePulsethe pulsator is set for goats which is slightly higher at 90 pulses. To adjust this down, turn the set screw on the back of the pulsator using a flat head screwdriver until you hear the clicks start to get further apart and it times to 60 pulses in 1 minute.
When attaching the inflations to the udder align the entrance of the inflation with the teat opening and then depress the bottom claw button. This will suck the teat into the inflation shell to the proper depth and begin milking instantly. Repeat with the other 3 inflations. Continue allowing the machine to milk until you notice milk no longer flowing. At the point you think she is done milking, her udder should look noticeably deflated and you no longer see milk flowing into the claws, go ahead and pull down gently on each inflation in turn. This will open the milk canal and allow that last bit of milk to come out which is the highest in butterfat. Continue to apply slight downward traction until you don’t see a steady stream of milk anymore before turning the machine off.
After milking, a cows teat canals stay open for around 30 minutes after so be sure to apply a good post-milking teat dip like iodine or if its below freezing, Winterset powder, to coat the teat ends and prevent bacteria from entering once you turn her out.
Having a good routine, sanitation practice and procedure in place by following these simple steps will set you and your cows up for a successful milking journey.
Tips for milking cows By Deanna Clark from Simple Pulse Read More »
Milking
Paying a little more for a higher quality item is worth it in the end.
Cheap Milking Equipment Read More »
Milking
Homeopathy for Mastitis …consider natural methods
Homoeopathy for Bovine Mastitis – Submitted by Riley Wohlgemuth Read More »
Herd Health Milking
Timeless Fence Post is king!
The Best Electric Fence Post Read More »
Farm Management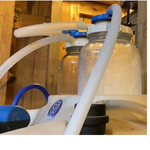
No filtering, closed milking system, simple pulse in action.
The Simple Pulse Machine Read More »
Milking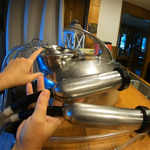
How the Surge bucket milker is put together
Antique Surge Bucket Milking Machine Read More »
Milking
A good fence charger is the backbone of your grazing operation.
Favorite Electric Fence Chargers Read More »
Farm Management
A cost share program that helps
Get Started with EQIP Read More »
Farm Management