DEXTER CATTLE – JOY, LAUGHTER, AND HEARTBREAK – PART 4
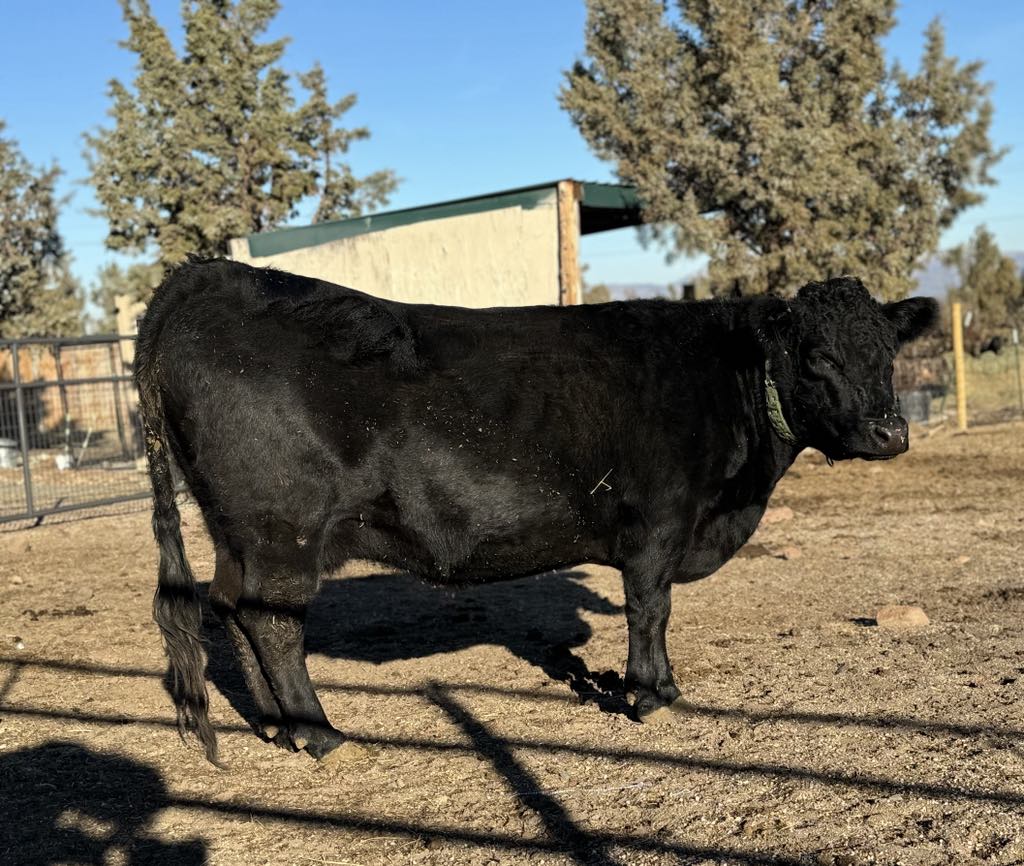
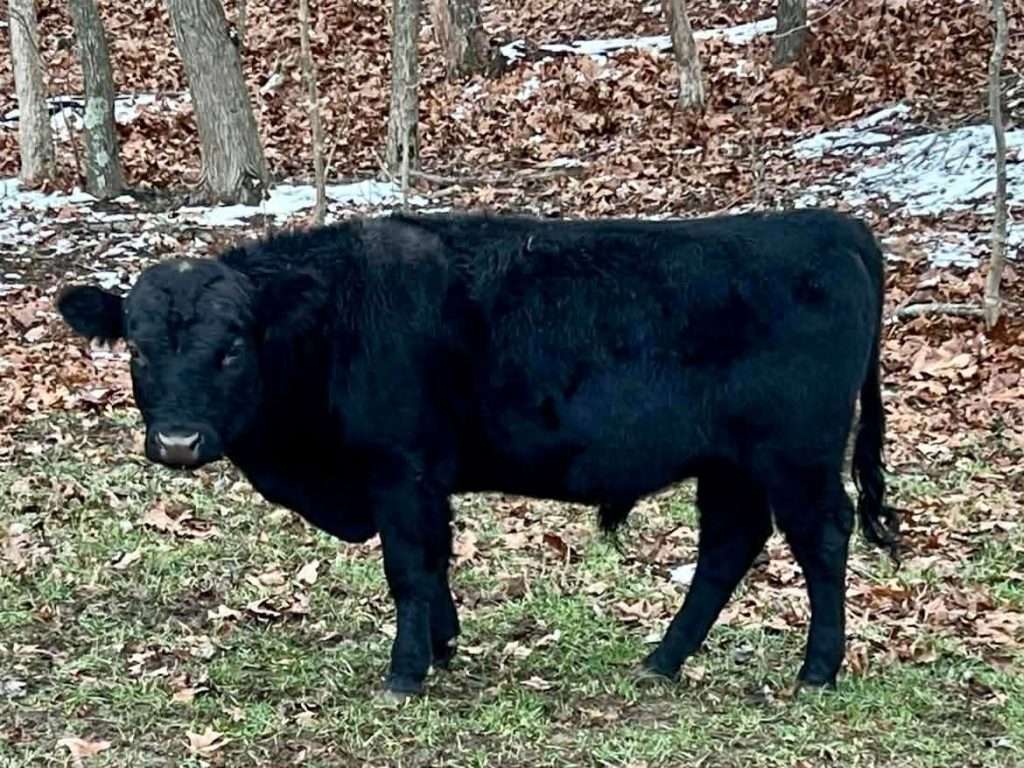
They are here! My wife and I watched the cattle huddle around the hay bale located in the horse turnout next to our stables. The cattle didn’t take long after delivery to settle themselves. I had let the grass in the turnout grow out and with the red and black of the cattle settled against the green grass the scene was picturesque.
Months before, while at the vet for my dog, Bear, I once mentioned that we were considering getting a horse. Our vet said, “get cattle, they are easy.” Could it be that easy? Now what do I do. They pretty much take care of themselves, don’t they?
Yes and no. Mostly no. Grass fed? It was November and hay was needed. Grain fed? I wanted to feed a little grain as a training tool and to get them to follow me.
I had purchased the following equipment and supplies:
- Tractor. Don’t need too big, but didn’t want too small. I elected to buy new and take advantage of zero interest. Bucket. Bale fork. Mower. Expensive. But I was in this for long haul. What the heck? You only live once.
- Hay. I have come to learn that this is one of the biggest expenses. I contracted with a local farmer to cut the hay on our pasture. He took 2/3rds and I got a 1/3. At the time, I didn’t have any other options. With 4 head of cattle, and no equipment, the arrangement would iwork, but not for long. I learned that quickly. I also started questioning whether or not some folks were looking out for my best interests. Sneak peak. They were not.
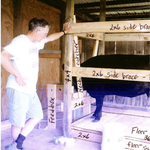
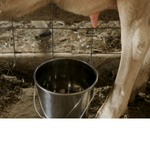
- 100 gallon steel water tank. I bought one and then quickly learned I was going to need more,. When the cattle move, the tank does too.
- Hay bale ring. The idea was to minimize hay waste. See water tank. I quickly learned I would need more.
- Grain. I started with an all natural variety from a local farm store. Apparently all natural is a heck of a lot more expensive to produce as it was more than 3 times the price more than a product that is not natural per bag, It adds up. So does the weight. 50 pound bags. One bag at the time. Is it worth? It might be for you or your customers.
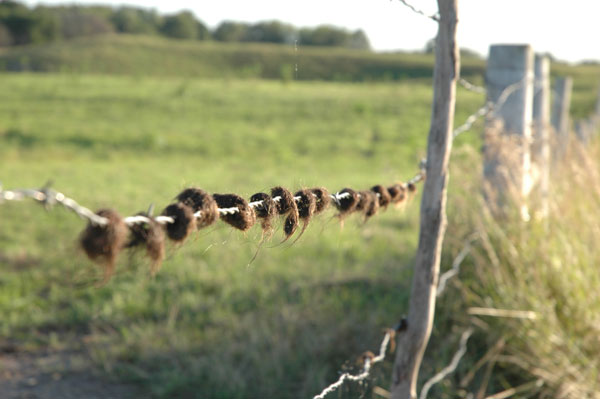
- Fencing. The cattle were fine for the winter. In fact, they were spoiled. Complete access to our stables to come in and out as they please. I heard Jubilee whisper to Liberty, “don’t tell him, but I could get used to this.” Given it was said in a series of moos, that conversation is subject to interpretation. I got my first quote on the high tensile fencing. Prepare yourself for sticker shock. That said, one of the best things that I did. My advice, don’t go cheap. Got on the list. The installer would be here sometime this fall. That didn’t work out.
Every day I would walk out with the cattle. I didn’t force myself on them in the beginning and let them come to me. It didn’t take long at all for Bitsie to come up to me and gently nudge me looking for a scratch. Jubilee and Liberty gradually came. All wanting attention. Willow, the heifer, was a little slower in her approach. Younger and more cautious. Sometimes it works that way. But once she got used to me, and I got used to her, she never fails, to this day, to give me hugs.
Everything was great. The vet was right. This wasn’t that hard.
Oh crap. I say that literally and figuratively. There was a lot of it. Cattle loved the stable but they didn’t respect the sanctity of the stable bed. What am I going to do with all of that manure? I have a plan.
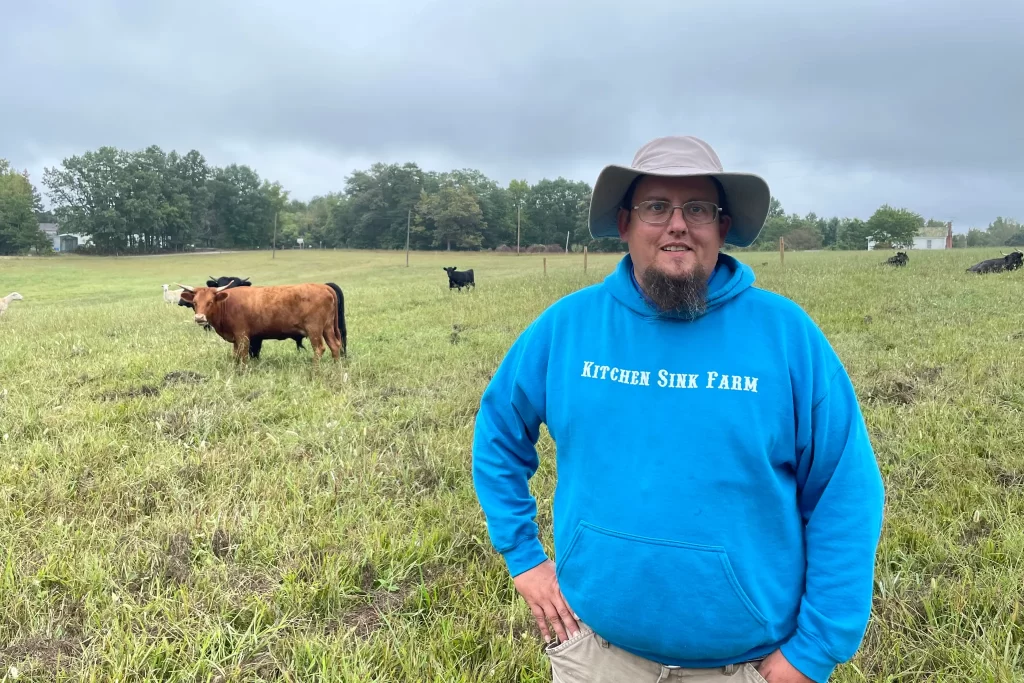
A little bit about the author. I own and operate a small farm called “Our Yellowstone LLC” in Illinois. I couldn’t do it alone, but will keep my wife’s name out of it to protect her innocence.
DEXTER CATTLE – JOY, LAUGHTER, AND HEARTBREAK – PART 4 Read More »
General