Tag: Milking
-

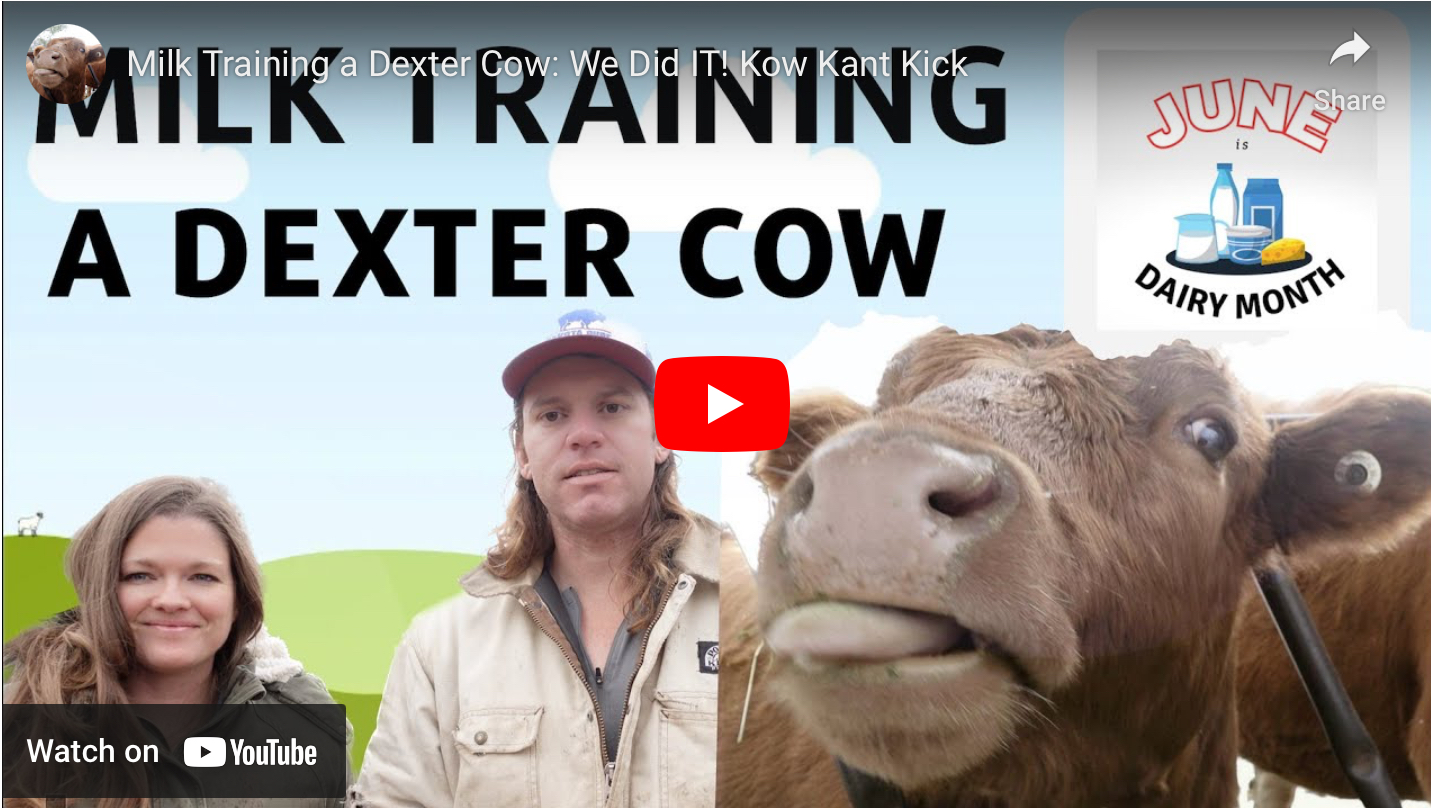
CALF SHARING
Here is an interesting approach to calf sharing. We do a much similar approach, which works really well for us and our Dexters.
-

Importance Of Horns In Dairy
This is an interesting read about horns and their possible importance to the dairy cow. Wonder if this holds true in our Dexters that we milk? https://www.researchgate.net/publication/377750796_Importance_of_horns_in_dairy_cattle
-
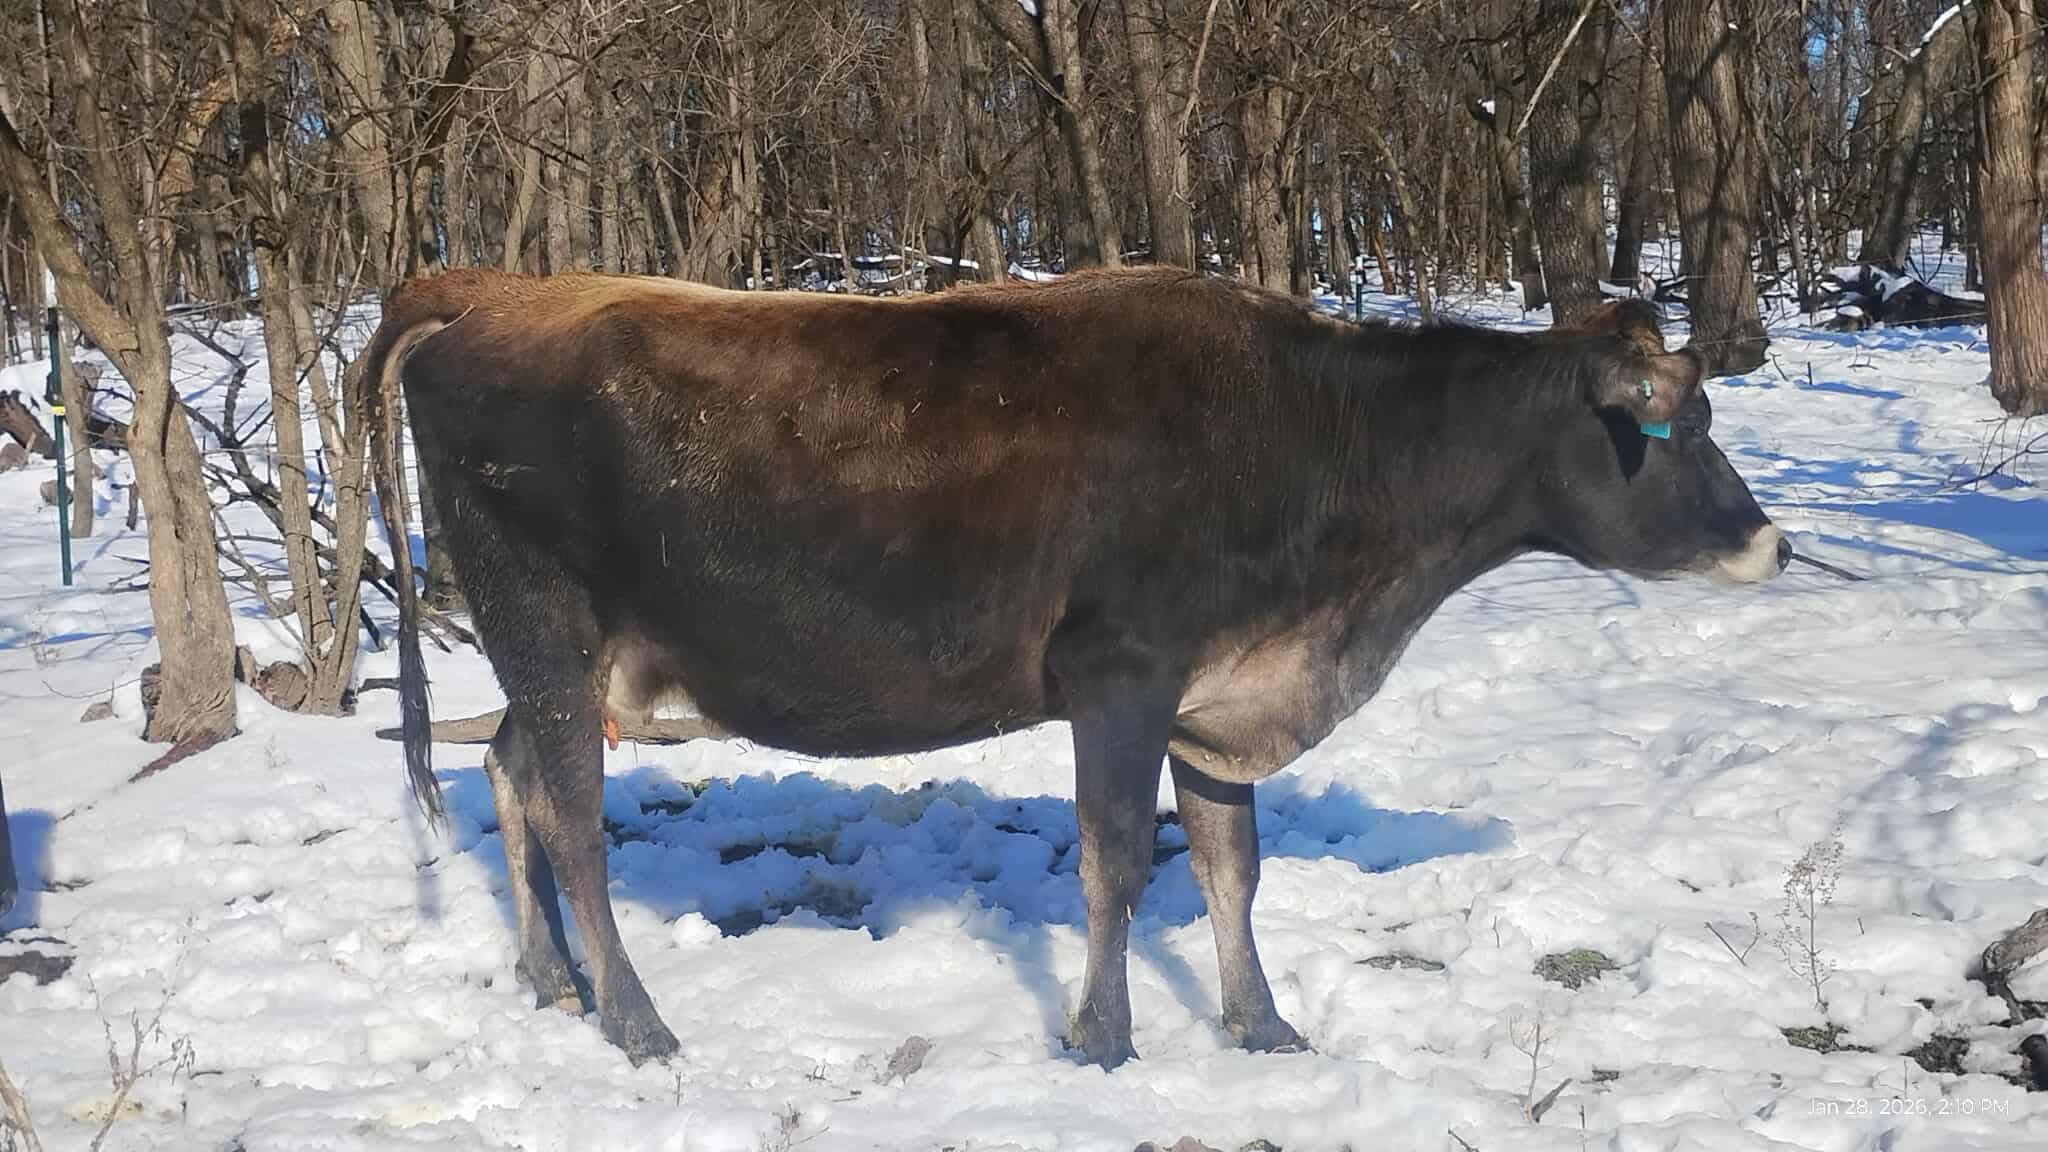
UDDER CARE. HOW TO AVOID FROST BITE OR DAMAGE
Spring is right around the corner, but for many you are still dealing with cold and snow. Caring for a dairy cow during the winter can be a challenge, but it doesn’t need to be insurmountable! Teats chap and freeze when wind-chills are at zero and below. You may choose not to post dip at…
-

Sustainability Podcast – The Irish Dexter
Sustainability Podcast – The Irish Dexter History [embedpress embedpress_embeded_link=’https://open.spotify.com/episode/5ksW8SBbVkcHAMcKBDmfIj?si=fsjFZdFVT7SZLBHoVYUlUw’ prefix_nftcreator=’false’ prefix_nftprice=’false’ prefix_nftlastsale=’false’ label_nftbutton=’false’ loadmorelabel=’false’ label_nftrank=’false’ label_nftdetails=’false’ instafeedFollowBtnLabel=’false’ instafeedPostsCountText=’false’ instafeedFollowersCountText=’false’ instafeedPopupFollowBtnLabel=’false’ instafeedLoadmoreLabel=’false’ cPopupButtonText=’false’ adWidth=’false’ adHeight=’false’ adStart=’false’ adSkipButtonAfter=’false’ embedpress_protection_message=’false’ embedpress_lock_content_error_message=’false’ embedpress_password_placeholder=’false’ embedpress_submit_button_text=’false’ embedpress_submit_Unlocking_text=’false’ embedpress_lock_content_heading=’false’ embedpress_lock_content_sub_heading=’false’ embedpress_lock_content_footer_message=’false’ width=’1060′ height=’352′ ep_parallax_effects_transition_for=’false’ ep_parallax_effects_transition_duration=’false’ ep_parallax_effects_transition_easing=’false’ embedpress_pro_embeded_source=’default’ instafeedFeedType=’false’ instafeedAccountType=’false’ embedpress_pro_embeded_nft_type=’false’ embedpress_audio_video_auto_pause=’false’ spotify_theme=’false’ emberpress_custom_player=’false’ custom_payer_preset=’false’ embedpress_pro_video_start_time=’false’ embedpress_pro_youtube_end_time=’false’ embedpress_player_color=’false’ embedpress_pro_vimeo_auto_play=’false’ embedpress_pro_vimeo_autopause=’false’ embedpress_pro_vimeo_dnt=’false’ embedpress_pro_youtube_auto_play=’false’ embedpress_pro_youtube_mute=’false’…
-
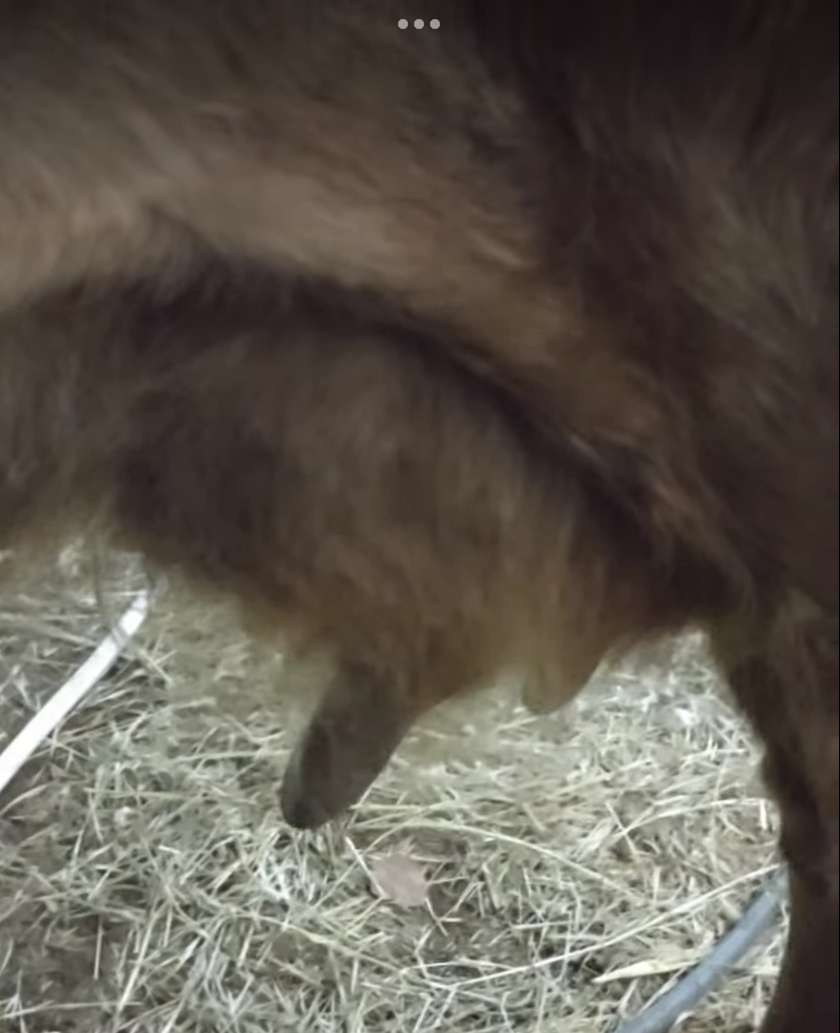
Is Your Dexter Udder Hairy?
Let’s face facts. Some of our Dexter gals have some pretty hairy udders. All that hair is not something we want if we are trying to milk them and provide a clean product. I use these handy dandy scissors pictured below, but some folks also use electric clippers, as in the short video below. What…
-
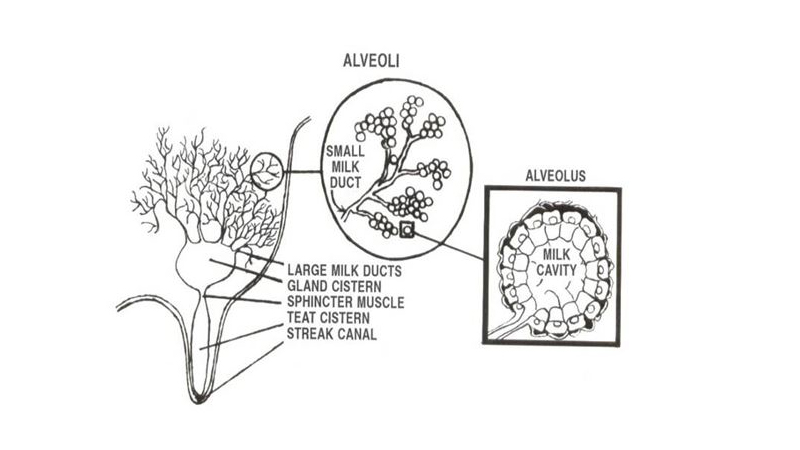
Enhancing Milk Let-Down
The benefits of ensuring milk letdown has occurred include improved milking efficiency and max milk production. https://www.dairynz.co.nz/milking/fundamentals/enhancing-milk-let-down/
-
How Can A Milk Cow Pay for Herself?
We now know that paying top dollar will come back to us. We no longer look at price. A healthy cow will give us many lactations to come.
-
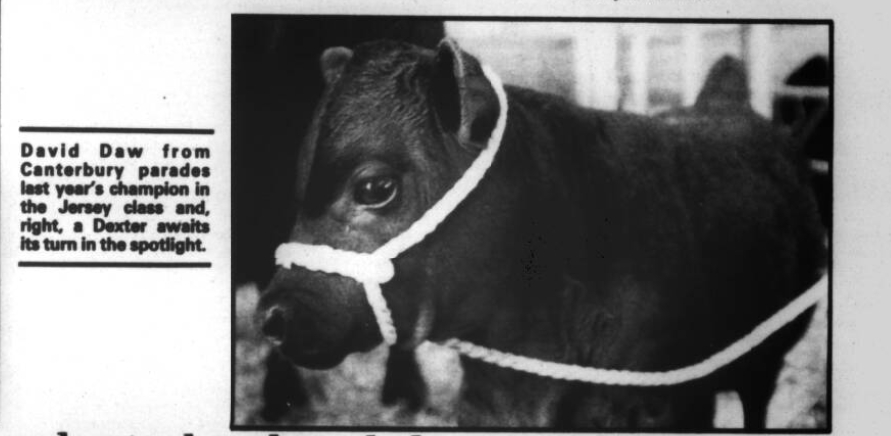
The Dexter: The SmallHolder’s Cow
Great for Small Acreage Dexters have long been promoted the same way time and time again, “Docile and Hardy little cattle, dubbed the smallholder’s cow because of their ability to exist on about half the acreage of other cattle.” This is the niche market of a Dexter. They are well suited to beginners because they…
-
Man vs Machine When Milking a Cow
I believe that you should learn to hand milk your Dexters and other dairy animals. For me the journey was to master hand milking. I moved on to a machine after I was milking several Nubians and Dexters. My body was telling me I needed help. I have never regretted this, as you have to…
-
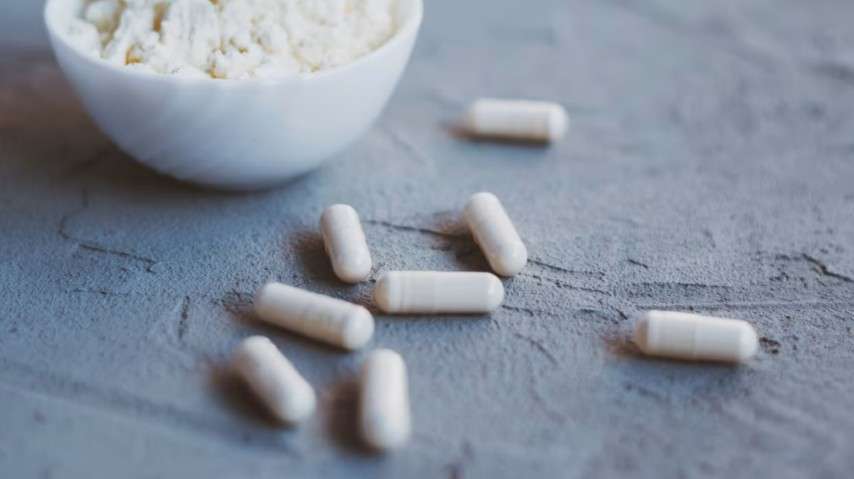
Liquid Gold Trend!
Make sure you’re collecting it! Submitted by Katie Sears https://www.cnn.com/2024/08/27/health/colostrum-supplements-pros-cons-wellness/index.html
-
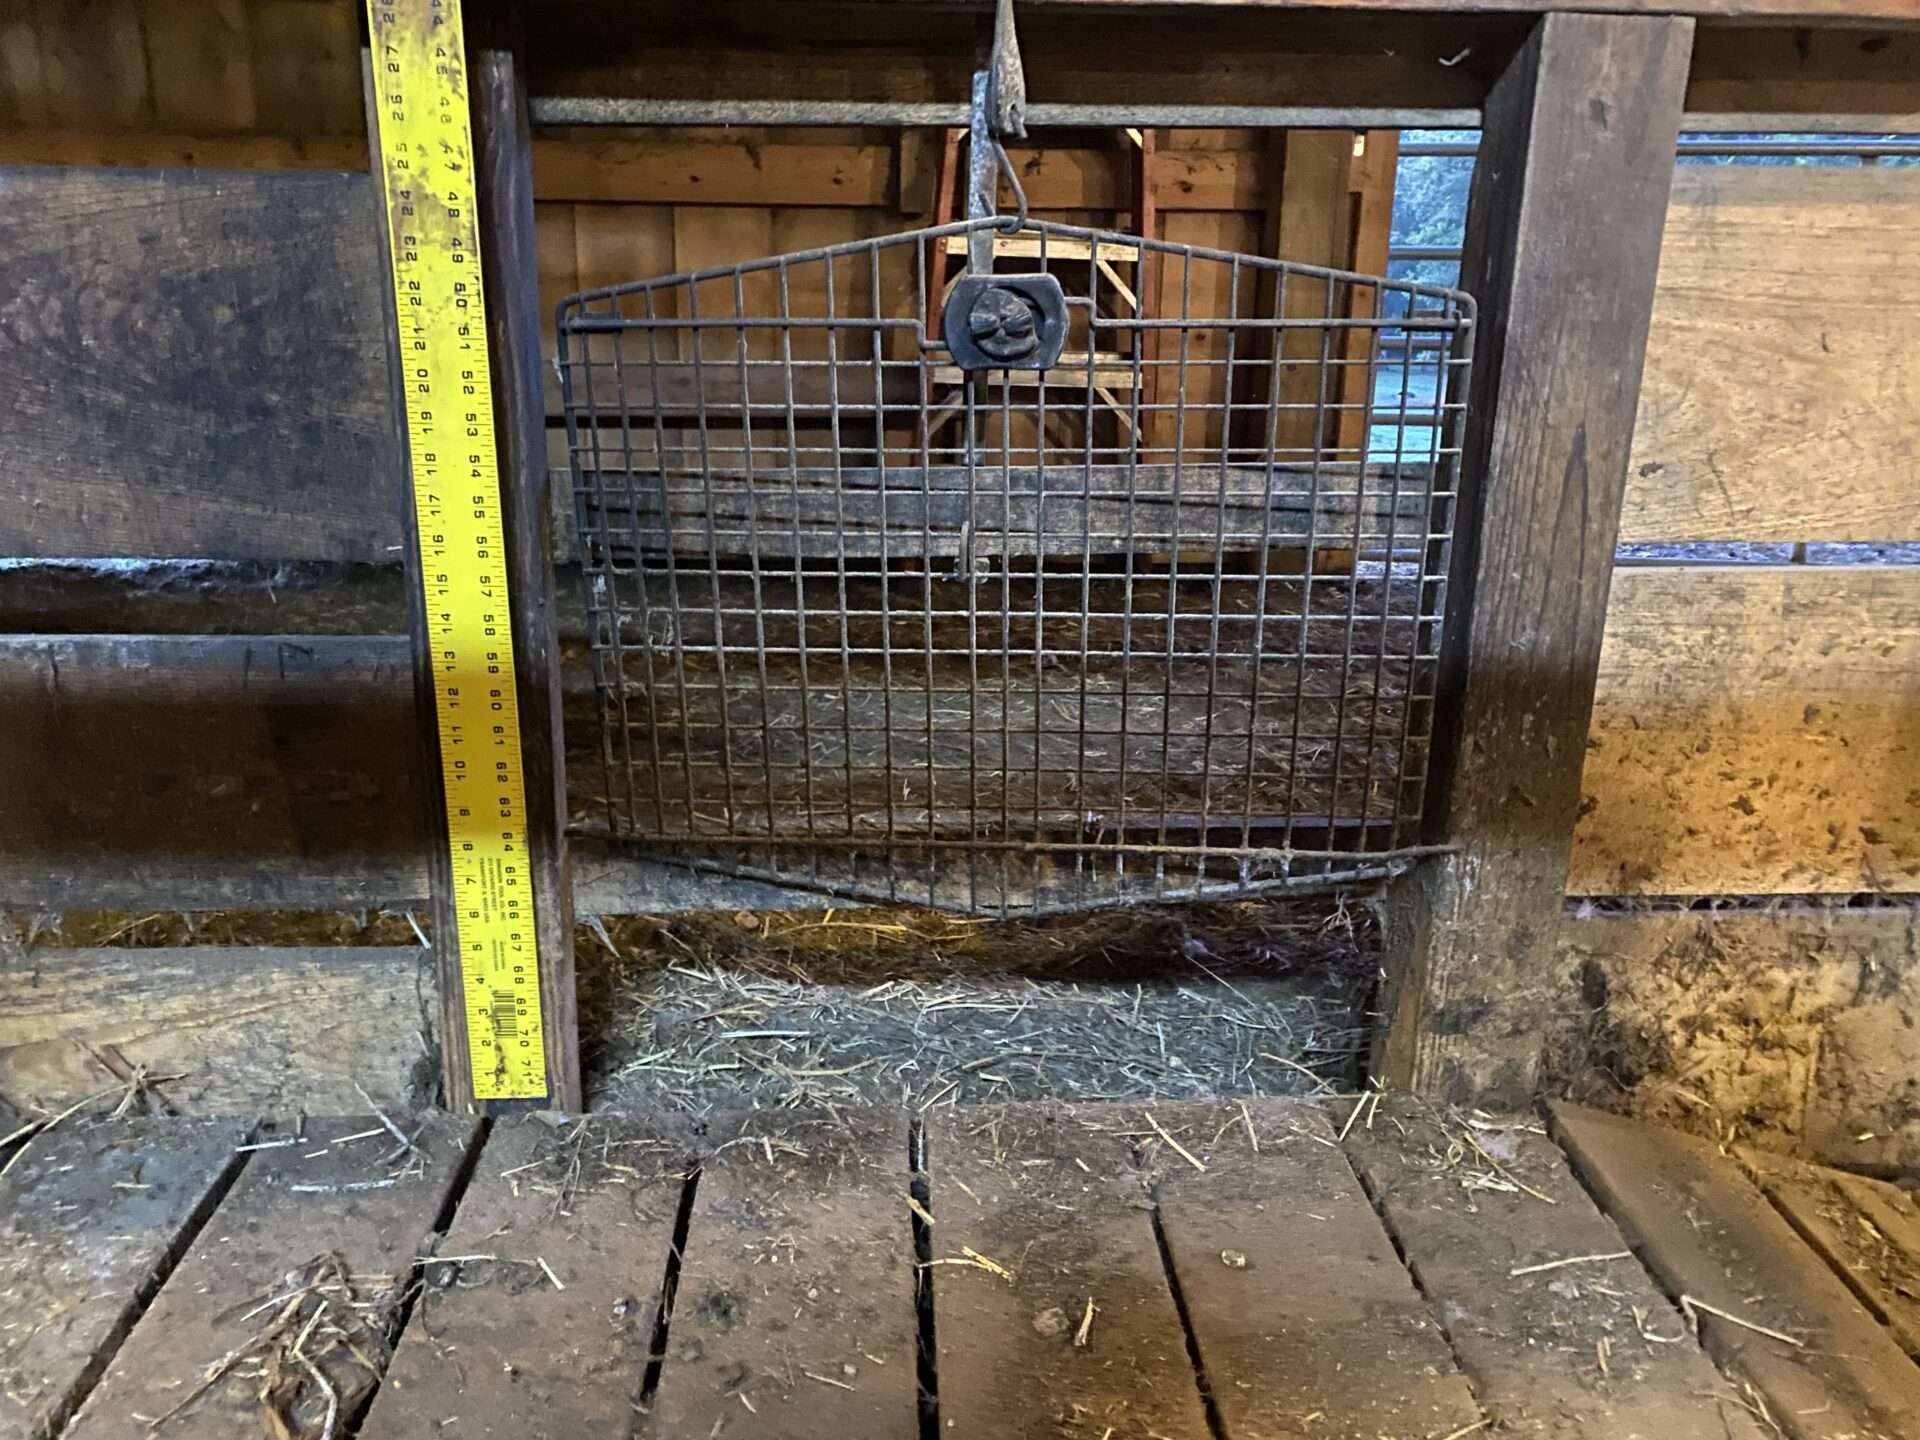
MILK LET DOWN – HINTS AND TRICKS
For the first time milker or the heifer that is getting milked for the first time, there are some important things to remember for success. The article below goes over some of the basics. We have, thankfully, only had a few that were very stubborn. We found that putting the calf in front of the…
-

Mastitis …while not common in Dexters an ounce of prevention can go a long way.
” The disease can be treated with antibiotics and supportive measures. The mastitis can be prevented by taking adequate measures like maintaining udder hygiene, sanitation of the cow barn, clean food and water supplement, and maintaining a milking schedule.” If you are looking for a more holistic approach, there is another article in the Gazette about…
-
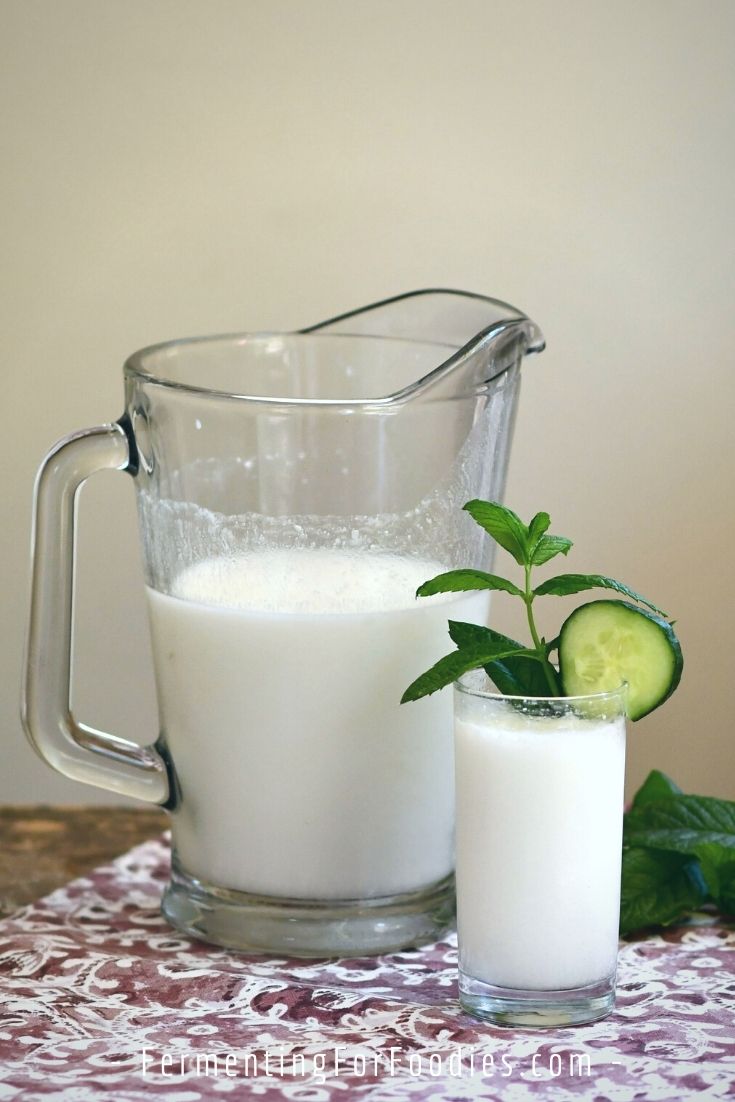
Innovations in Yogurt Production Podcast
[embedpress embedpress_embeded_link=’https://open.spotify.com/episode/7xra88i3tcYOwfXzOOlghL?si=oXebEXonSuKjS4sfHFZ8Og’ prefix_nftcreator=’false’ prefix_nftprice=’false’ prefix_nftlastsale=’false’ label_nftbutton=’false’ loadmorelabel=’false’ label_nftrank=’false’ label_nftdetails=’false’ instafeedFollowBtnLabel=’false’ instafeedPostsCountText=’false’ instafeedFollowersCountText=’false’ instafeedPopupFollowBtnLabel=’false’ instafeedLoadmoreLabel=’false’ cPopupButtonText=’false’ adWidth=’false’ adHeight=’false’ adStart=’false’ adSkipButtonAfter=’false’ embedpress_protection_message=’false’ embedpress_lock_content_error_message=’false’ embedpress_password_placeholder=’false’ embedpress_submit_button_text=’false’ embedpress_submit_Unlocking_text=’false’ embedpress_lock_content_heading=’false’ embedpress_lock_content_sub_heading=’false’ embedpress_lock_content_footer_message=’false’ width=’1000′ height=’390′ ep_parallax_effects_transition_for=’false’ ep_parallax_effects_transition_duration=’false’ ep_parallax_effects_transition_easing=’false’ embedpress_pro_embeded_source=’default’ instafeedFeedType=’false’ instafeedAccountType=’false’ embedpress_pro_embeded_nft_type=’false’ embedpress_audio_video_auto_pause=’false’ spotify_theme=’false’ emberpress_custom_player=’false’ custom_payer_preset=’false’ embedpress_pro_video_start_time=’false’ embedpress_pro_youtube_end_time=’false’ embedpress_player_color=’false’ embedpress_pro_vimeo_auto_play=’false’ embedpress_pro_vimeo_autopause=’false’ embedpress_pro_vimeo_dnt=’false’ embedpress_pro_youtube_auto_play=’false’ embedpress_pro_youtube_mute=’false’ embedpress_pro_youtube_display_controls=’false’ embedpress_pro_youtube_enable_fullscreen_button=’false’ embedpress_pro_youtube_display_video_annotations=’false’ embedpress_pro_youtube_progress_bar_color=’false’ embedpress_pro_youtube_force_closed_captions=’false’ embedpress_pro_youtube_modest_branding=’false’ embepress_player_restart=’false’…
-
Preparing Your Dexter Cow For Milking
https://discover.texasrealfood.com/dexter-cattle/preparing-your-dexter-cow-for-milking
-
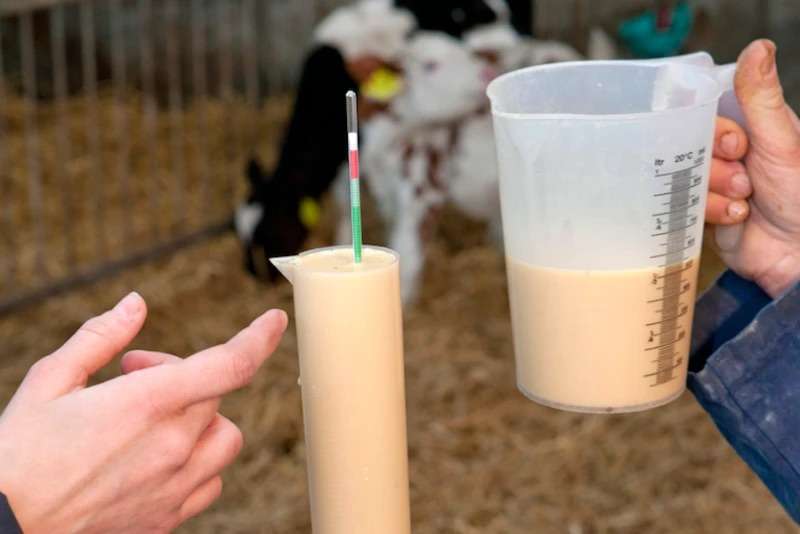
Colostrum Podcast….The liquid gold
[embedpress embedpress_embeded_link=’https://open.spotify.com/episode/3IdZIU9JBjs36M0lyMoRCQ?si=LMVrKe4DTZyzq27RCxv98w’ prefix_nftcreator=’false’ prefix_nftprice=’false’ prefix_nftlastsale=’false’ label_nftbutton=’false’ loadmorelabel=’false’ label_nftrank=’false’ label_nftdetails=’false’ instafeedFollowBtnLabel=’false’ instafeedPostsCountText=’false’ instafeedFollowersCountText=’false’ instafeedPopupFollowBtnLabel=’false’ instafeedLoadmoreLabel=’false’ cPopupButtonText=’false’ adWidth=’false’ adHeight=’false’ adStart=’false’ adSkipButtonAfter=’false’ embedpress_protection_message=’false’ embedpress_lock_content_error_message=’false’ embedpress_password_placeholder=’false’ embedpress_submit_button_text=’false’ embedpress_submit_Unlocking_text=’false’ embedpress_lock_content_heading=’false’ embedpress_lock_content_sub_heading=’false’ embedpress_lock_content_footer_message=’false’ width=’1000′ height=’300′ ep_parallax_effects_transition_for=’false’ ep_parallax_effects_transition_duration=’false’ ep_parallax_effects_transition_easing=’false’ embedpress_pro_embeded_source=’default’ instafeedFeedType=’false’ instafeedAccountType=’false’ embedpress_pro_embeded_nft_type=’false’ embedpress_audio_video_auto_pause=’false’ spotify_theme=’false’ emberpress_custom_player=’false’ custom_payer_preset=’false’ embedpress_pro_video_start_time=’false’ embedpress_pro_youtube_end_time=’false’ embedpress_player_color=’false’ embedpress_pro_vimeo_auto_play=’false’ embedpress_pro_vimeo_autopause=’false’ embedpress_pro_vimeo_dnt=’false’ embedpress_pro_youtube_auto_play=’false’ embedpress_pro_youtube_mute=’false’ embedpress_pro_youtube_display_controls=’false’ embedpress_pro_youtube_enable_fullscreen_button=’false’ embedpress_pro_youtube_display_video_annotations=’false’ embedpress_pro_youtube_progress_bar_color=’false’ embedpress_pro_youtube_force_closed_captions=’false’ embedpress_pro_youtube_modest_branding=’false’ embepress_player_restart=’false’…
-
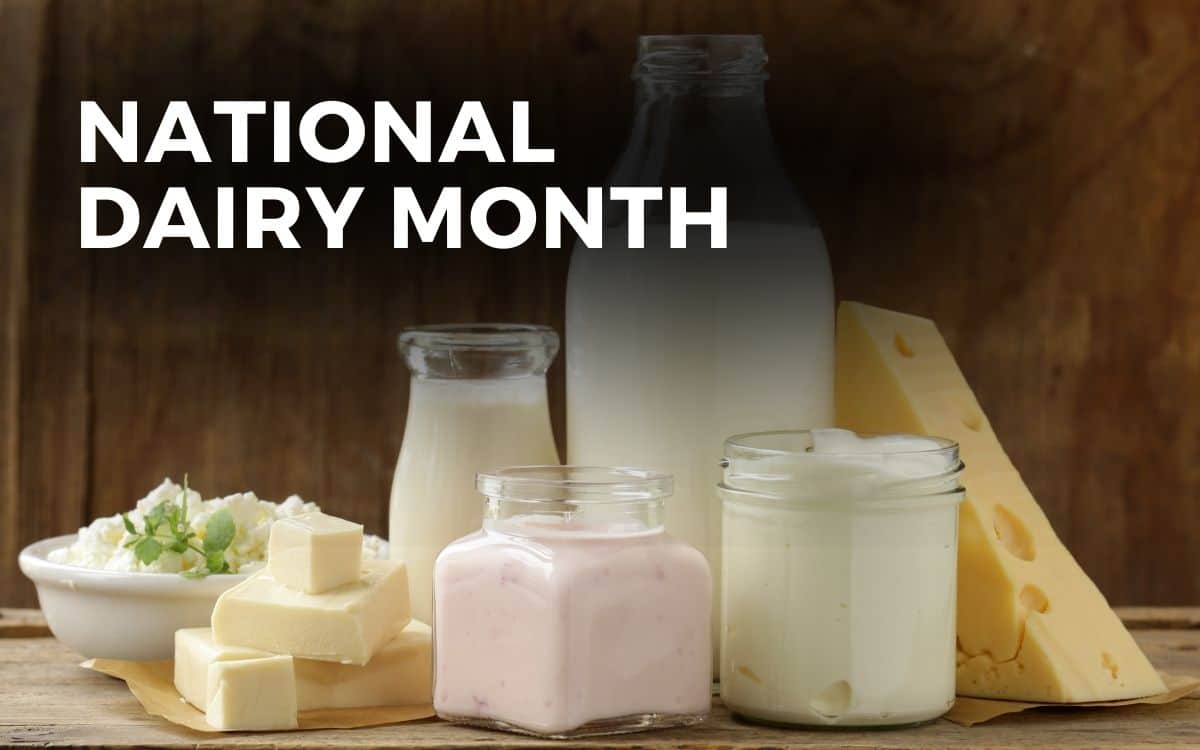
DID YOU KNOW June is National Dairy Month?
This article is jammed packed with recipes…some I have yet to try and some great activities for children. If you have a favorite recipe, please comment with your recipe and help grow our recipe box and more.
-
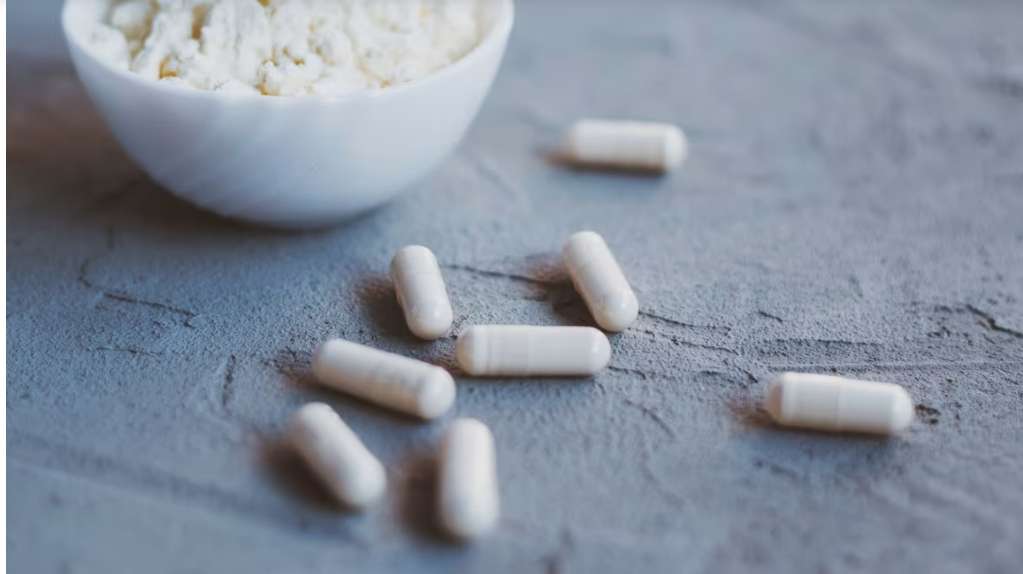
Liquid Gold Trend!
Make sure you’re collecting it! Submitted by Katie Sears https://www.cnn.com/2024/08/27/health/colostrum-supplements-pros-cons-wellness/index.html
-
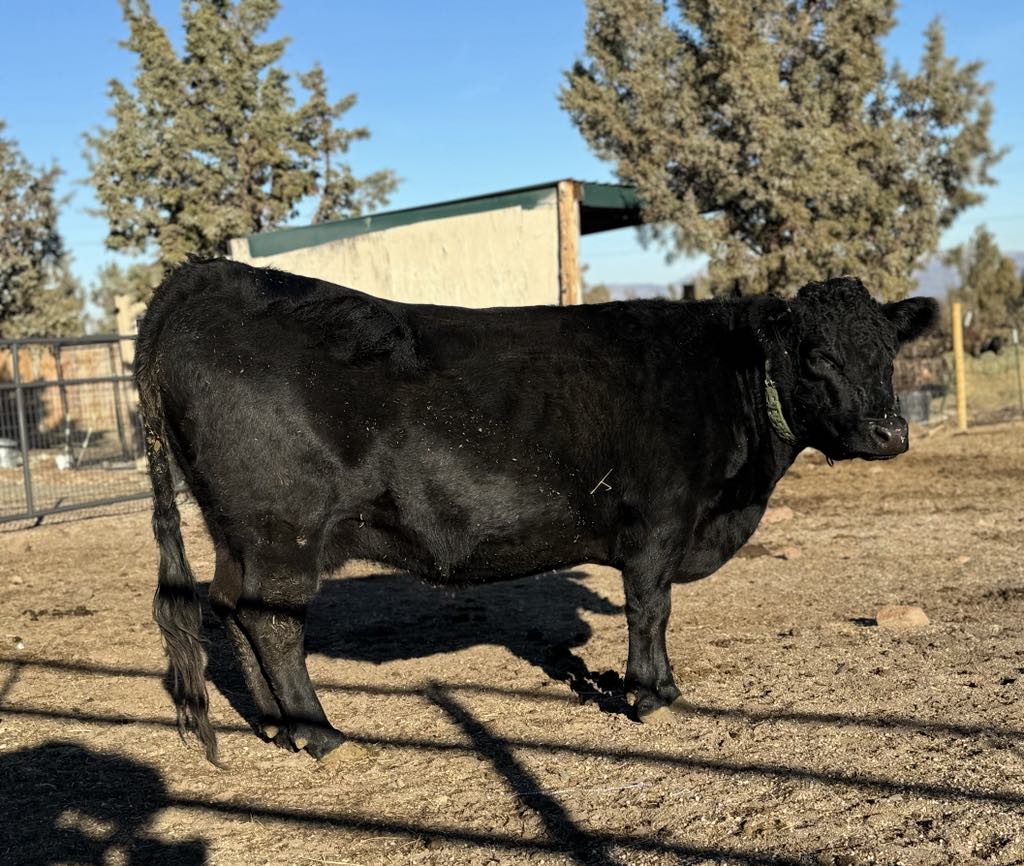
Tips for milking cows By Deanna Clark from Simple Pulse
Photo from Deanna Clark, Lane’s End Iggy There are over 270 million cows producing milk across the world with about 10 million in North America alone and now you own one or more of those milk cows, congratulations! I bet you spent lots of time considering age, breed, reproductive status and temperament before you got your precious new cow…
-