Looking for a beginner cheese?
Looking for a beginner cheese? Read More »
Milking & DairyBy Kasie Williams of K Williams Ranch
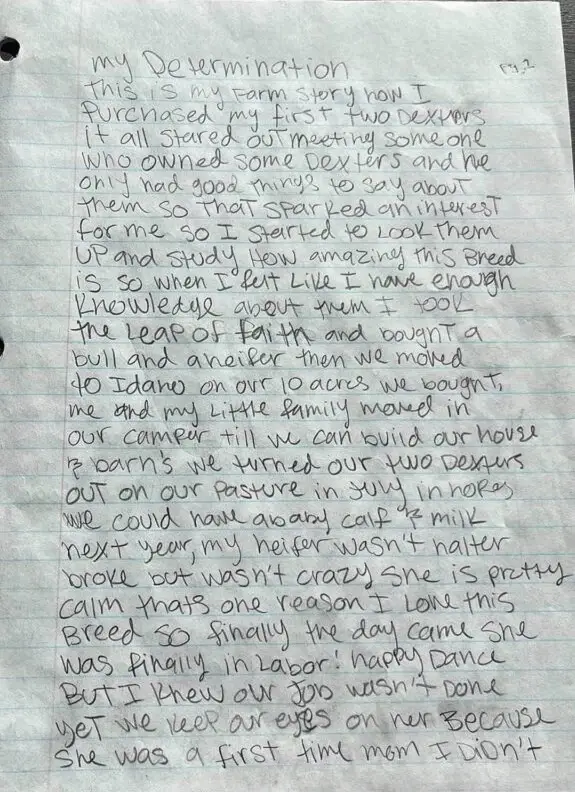
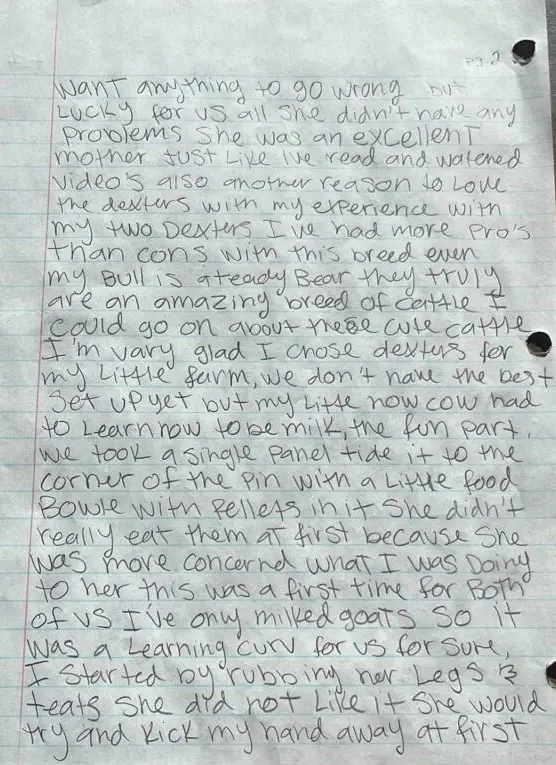
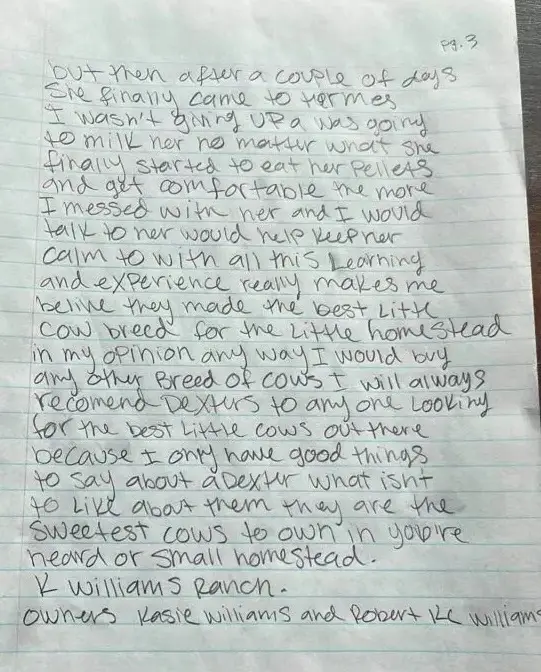
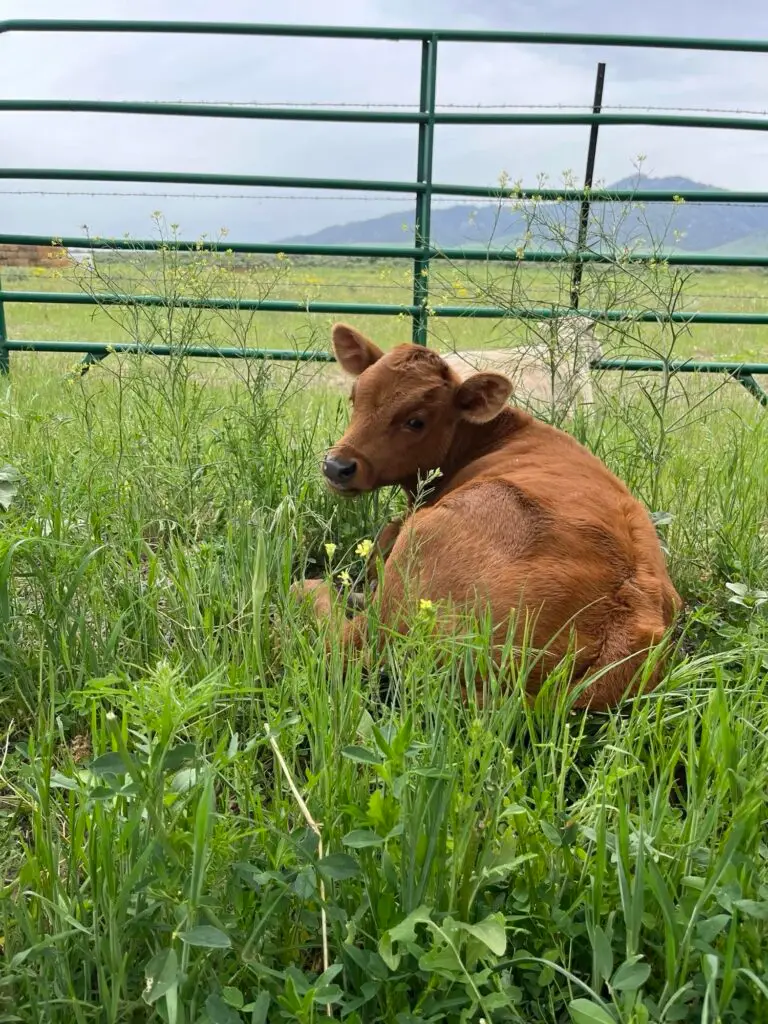
Her determination paid off! A Dexter milking journey…. Read More »
Milking & Dairy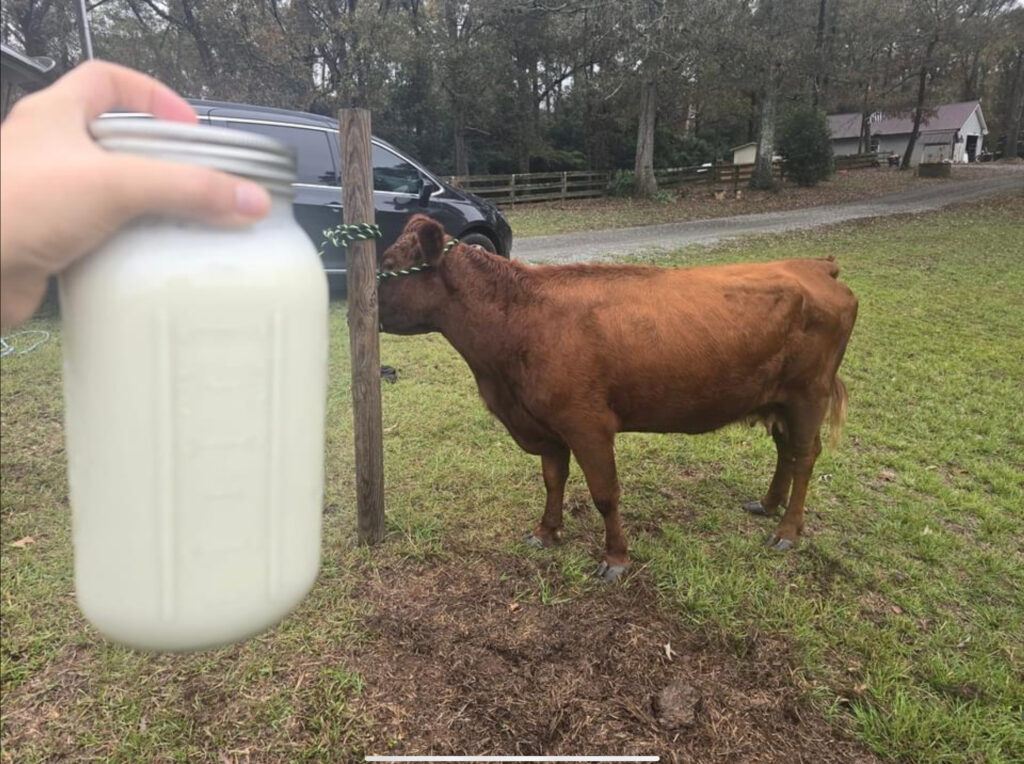
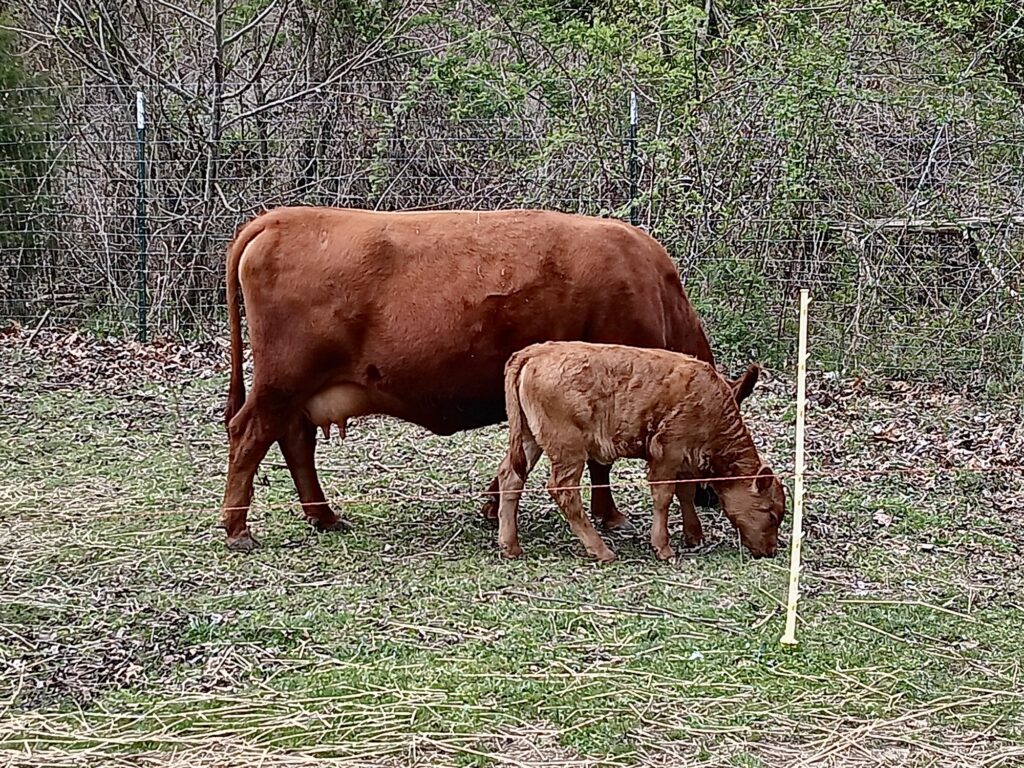
Written by Riley Wohlgemuth of Bar Dubya Ranch
Over the last week, I’ve dedicated part of my daily life to training Marieke to milk… We weaned her 10 month old bull calf and separated them so that she could begin to recover some condition. For the previous two months, I have been casually working on her haltering and handling in preparation for this moment…
As always, it takes some adjustment and determination to get into a routine, to be mindful of my actions and responses when training a cow, and just overall persistence despite the odds. Once separated from Connor, Marieke became a little waspy with milking while standing freely, so I quickly decided to start tying her up while I milked for both of our safety.
Milking is not easy. It’s a chore. It requires consistency (after the calf is weaned), determination, patience, and a lot of grace.
But… it’s amazing. To work with a cow and receive raw milk. It is an amazing thing to be able to provide your own milk… to know exactly what goes onto it, where it’s coming from, and get the cow kisses while you’re at it.
The other thing apart from feeding ourselves that brings me so much joy… is the connection to the community, providing the connection to their food that so many are craving. We don’t currently sell our milk as we are still trying to find our own rhythm, a place to purchase, and some other variables which just make that out of reach right now…
A couple of days ago, a neighbor requested to try some of our milk. Her toddler absolutely cannot have cow milk (not even the lactose-free), a sip of it will send her into tummy aches and throwing up within 30 minutes. Her little girl could drink our Dexter milk! Absolutely zero issues. So neat!!
Then, today, we milked Marieke this morning. Getting a full, creamy half gallon jar of delicious raw milk to take home. We decided to stop at a Christmas tree farm on the way home and one of the employees pointed out our lariat rope, which turned into conversation about roping, and then cattle… did we raise any, what do we use them for, etc. We raise our cattle for milk and beef. My husband pulled out the jar of raw milk to show them and they were so fascinated and intrigued! So we offered for them to have a little sip. We have so much at home that it wasn’t too terrible a loss to sacrifice some milk for the sake of curiosity.
They were amazed! At the flavor, the texture, remarking on its creamy sweetness and how the flavor lingered on their tongues. Then there were immediate questions about did we sell, could they buy, etc. The excitement, the chattering. It made me so happy to provide that experience and connection to them!
Farming is difficult, but so rewarding… for ourselves, for the connections we cultivate with friends and strangers, to nature and God’s provision for us… We are feeling extra grateful this season.
God bless and happy holidays!! 🥰❤️

A combination of cocoa powder and chocolate chips make this hot chocolate extra flavorful and delicious!
Homemade Hot Chocolate Read More »
Milking & Dairy
Excerpt from Veterinarian To Be on Facebook
Scientists created a genetically engineered cow that produces human insulin in its milk:
Currently, diabetics rely on insulin synthesized in bacteria within complex laboratory settings.
The new method harnesses the cow’s natural milk-production capabilities as a biological factory for human proinsulin, the precursor to insulin. Surprisingly, the cow’s mammary gland even performed the conversion to active insulin.
This proof-of-concept study demonstrated the remarkable potential for transgenic cows to produce massive quantities of insulin. The researchers inserted a segment of human DNA responsible for proinsulin production into cow embryos. The resulting transgenic calf demonstrated the ability to secrete both human proinsulin and insulin in its milk.
A single liter of milk contains enough insulin that could meet the needs for a diabetic patient for several years.
Researchers envision a future where relatively small herds of these special cows could drastically lower insulin production costs and potentially meet global demand.
Unlike current bacterial production methods, this approach wouldn’t require sophisticated facilities. While further research and regulatory approvals are needed, the scientists are optimistic. This development could herald a new era of insulin availability, making this life-saving medication a reality for all diabetics, regardless of location or income.
Are cows the new insulin producers? Read More »
Milking & Dairy
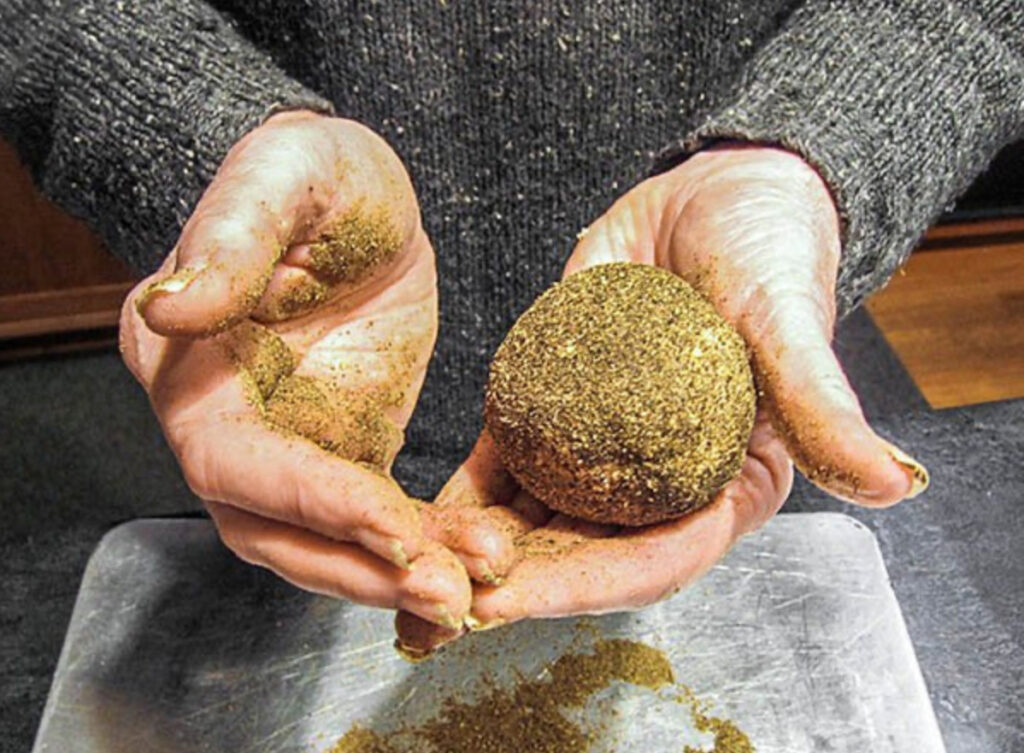
When choosing cheese, opt for raw, organic, grass fed varieties
Cheese, the Ultimate Superfood Submitted By Donna Grace Read More »
Homesteading Milking & Dairy
Homeopathy for Mastitis …consider natural methods
Homoeopathy for Bovine Mastitis – Submitted by Riley Wohlgemuth Read More »
Herd Health Milking & Dairy
Resources you need to successfully start your own food or farm business.
Partnerships for Your Food or Farm Business Read More »
Beef Farm Management Milking & Dairy Selling
Milk, cream and culturing!
WHAT TO DO WITH RAW MILK? Read More »
Milking & Dairy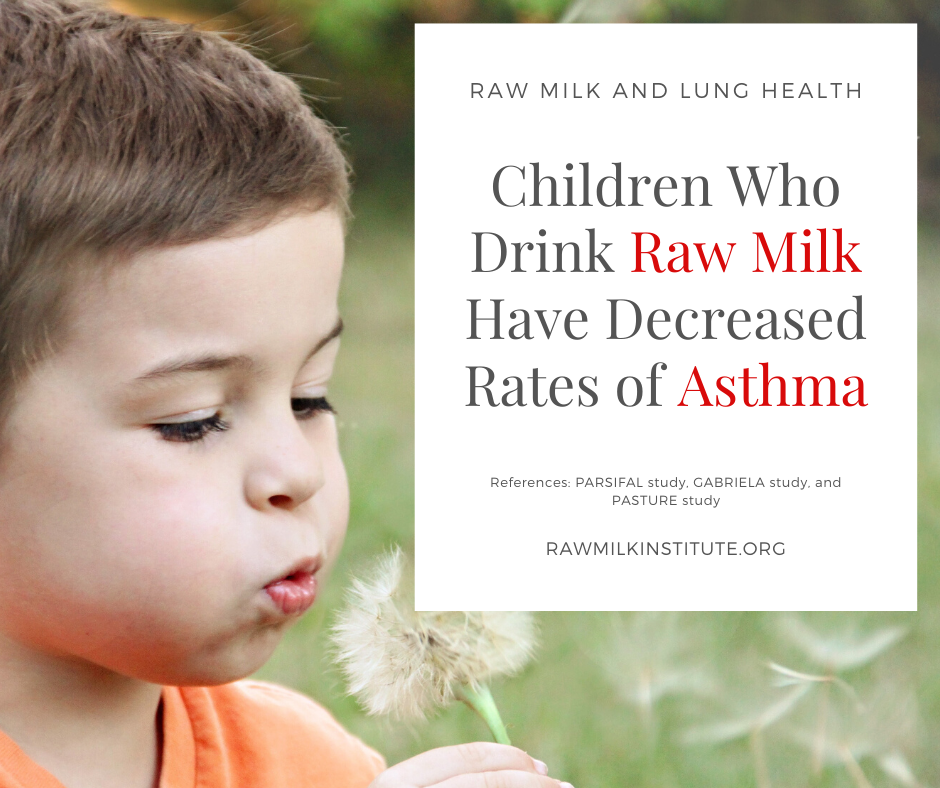
Improved lung health, both in childhood and adulthood.Submitted by Jody Jess
https://www.rawmilkinstitute.org/updates/raw-milk-asthma-and-lung-health
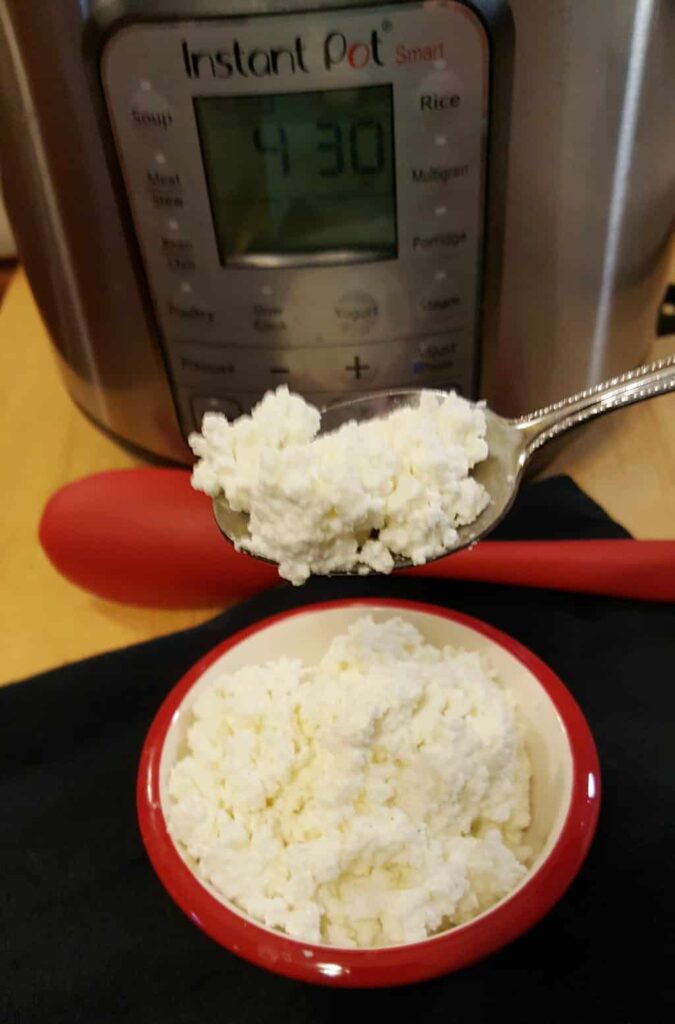
Cottage cheese made the easy whey….
Instant Pot Homemade Cottage Cheese Recipe Read More »
Milking & Dairy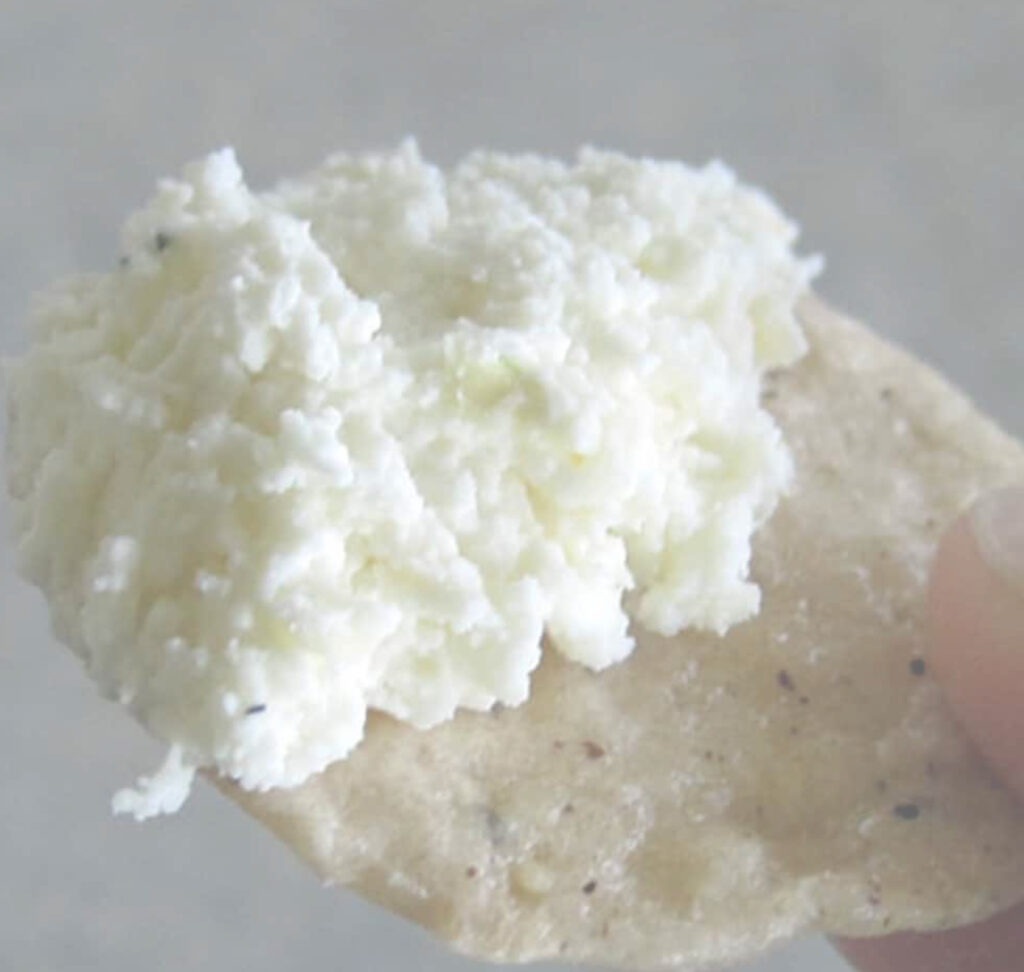
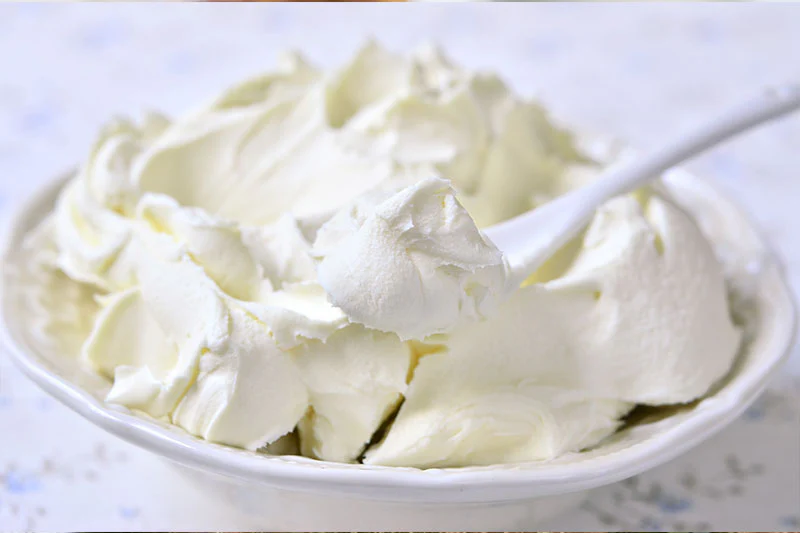
Fromage Blanc can be a good way to use up your milk left from removing the cream for butter and ice cream
Fromage Blanc recipe – Easy to make cheese Read More »
Milking & Dairy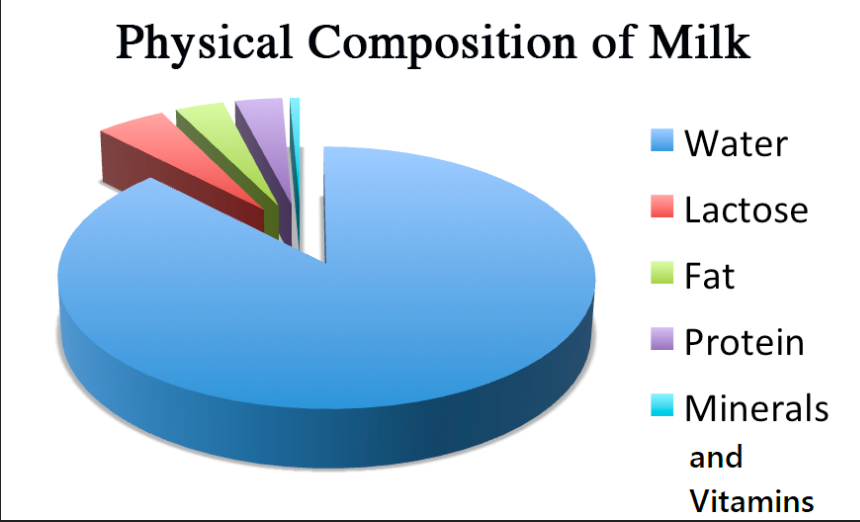
It has been known for years that variations in milk composition occur; Submitted by Riley Wohlgemuth
Factor Affecting The Composition Of Milk From Dairy Cows Read More »
Milking & Dairy
Homeopathy can be an alternative for your Dexter herd. – Submitted by Riley Wohlgemuth
Homeopathy: The Mechanics Read More »
Herd Health Milking & Dairy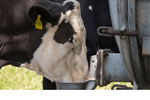
Remember to keep those troughs clean…especially if your milking your Irish Dexters. – Submitted by Riley Wohlgemuth
Clean Water Requirements Read More »
Milking & Dairy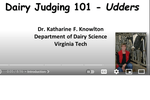
A tutorial on judging dairy cattle, by the Virginia Tech Dairy Cattle Judging team.
Judging Your Udder Read More »
Milking & Dairy
The results are absolutely amazing!
Instant Pot Ricotta and Farmer’s Cheese Read More »
Milking & Dairy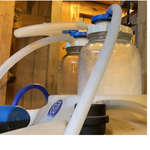
No filtering, closed milking system, simple pulse in action.
The Simple Pulse Machine Read More »
Milking & Dairy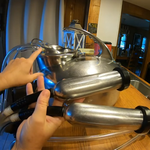
How the Surge bucket milker is put together
Antique Surge Bucket Milking Machine Read More »
Milking & Dairy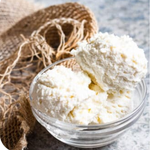
The Instant Pot is the secret to easiest results.
Sooo much better homemade! Read More »
Milking & Dairy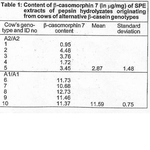
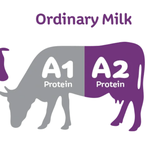
The results confirm the hypothesis that A1 milk during hydrolysis produces significant amounts of B-casomorphin 7 and, therefore, A1 milk may be considered an undesirable factor influencing human health.
A2/A2 Milk healthier for you? Read More »
Milking & Dairy