CALF SHARING
Here is an interesting approach to calf sharing. We do a much similar approach, which works really well for us and our Dexters.
Here is an interesting approach to calf sharing. We do a much similar approach, which works really well for us and our Dexters.
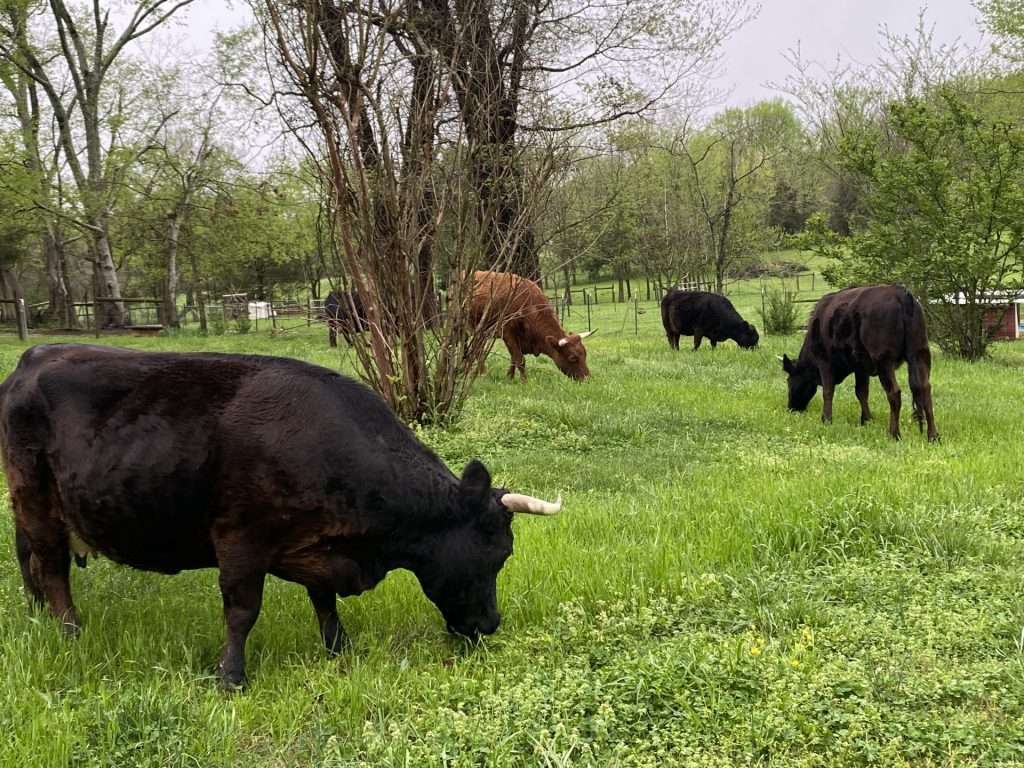
This is an interesting read about horns and their possible importance to the dairy cow. Wonder if this holds true in our Dexters that we milk?
https://www.researchgate.net/publication/377750796_Importance_of_horns_in_dairy_cattle
Importance Of Horns In Dairy Read More »
Milking & Dairy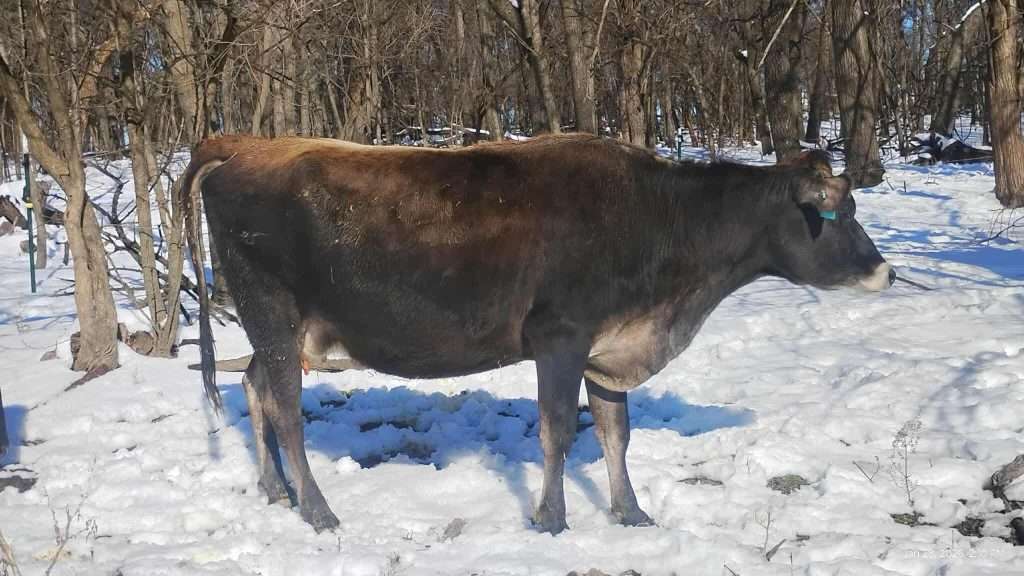
Spring is right around the corner, but for many you are still dealing with cold and snow. Caring for a dairy cow during the winter can be a challenge, but it doesn’t need to be insurmountable!
Teats chap and freeze when wind-chills are at zero and below. You may choose not to post dip at all, which is fine. You can also use products like Winterset, or Revive (from IBA.)
Treat chapped teats with Udder Balm or similar, and be careful to not over milk your cow.
Providing plenty of hay and water, plus a bedded shelter or tree line for wind protection is all she needs otherwise! She heats up from the inside out, with rumination serving as her furnace. She is very likely much more comfortable than you are in this weather!
Juliette is a monthly contributor to the Irish Dexter Cattlemen Newsletter and the author behind many of the articles on the FB group The Science of Owning. Dairy Cow.
Here is a link to other suggestions for dealing with it.
https://www.agproud.com/articles/19093-tips-for-dealing-with-frostbite-and-other-teat-health-issues
UDDER CARE. HOW TO AVOID FROST BITE OR DAMAGE Read More »
Milking & Dairy
The study below show that there are differences in the milk produced for boys and girls. Could this be true for our Dexters we are miking…and note what it says if there are two girls in a row! This could be very interesting to study.
https://www.scientificamerican.com/article/boys-and-girls-may-get-different-breast-milk
COULD THIS BE TRUE FOR DEXTERS? Read More »
Milking & Dairy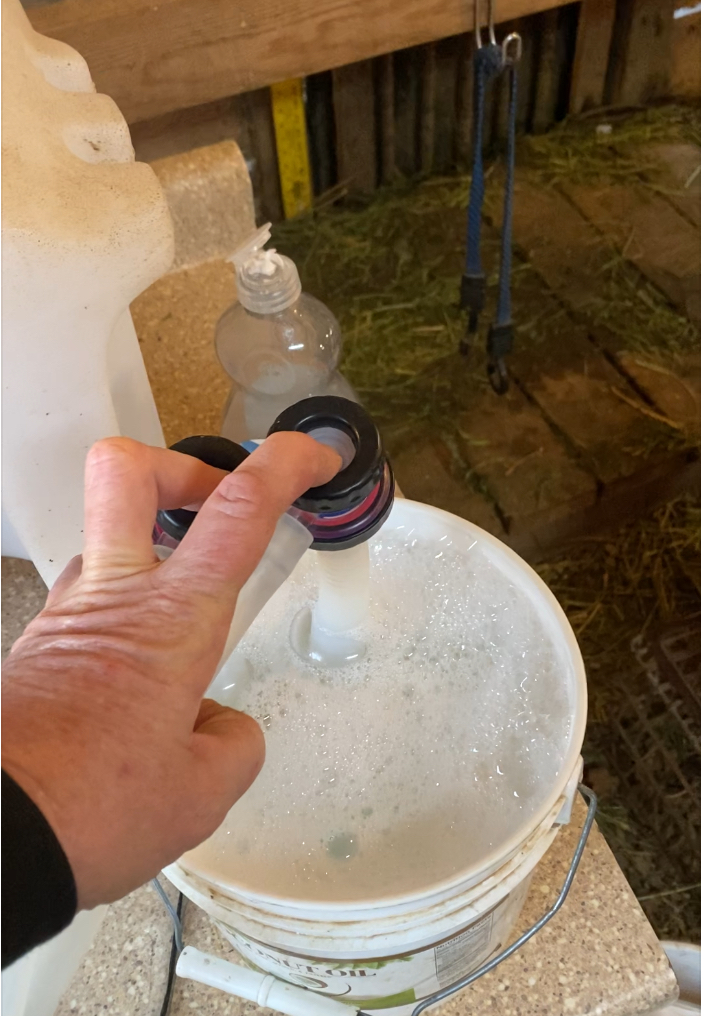
This was part of the reason I purchased a simple pulse machine. Clean up is this easy!
Clean up with a simple pulse machine Read More »
Milking & Dairy
Juliette Albrecht is a contributing member of the Irish Dexter Cattlemen, who was born and raised in the dairy industry. She has helped a fellow IDC member save their cow. Look for her articles each month and for past articles in the Gazette.
Juliette also runs two Facebook groups. One is under her name. The other is called The Science of Owning Dairy Cattle.
☆☆ Milk Fever
It scares so many dairy cow owners, and for a rightful reason. However I hope that I can shed some light on it and take away a bit of that fear. Hypocalcemia (milk fever) is brought on by the sudden demand for calcium that comes prior to delivery and directly afterwards. This taps her muscles, which carry that, heavily. In a pre calving scenario it will affect labor, since the cow needs muscles to contract. Often in this case she will need assistance. Characterized by lethargic movement, dull, dark eyes, and drop in body temperature, it can also lead to her going “down.”
●● Prevention
First calf heifers are less prone to this, but it CAN happen in them. Commonly it affects 3rd lactation and beyond. From the time she delivers her calf you are either setting her up for a great following lactation, or one doomed to fail. It all start with NUTRITION. Dairy cattle are beautiful, but oh so delicate. She needs fiber, energy, starch, protein, bypass protein and minerals to simply survive. (Keep an eye out for Mariah Gull and her weekly posts regarding this subject!) When a cow calves in she loses body weight rather rapidly. During this time she “milks off” condition. Peak is considered to be day 30 to 90 in milk. If she is being fed correctly, she will not become too thin. Coupled with a good deworming protocol, she will slowly regain weight. At roughly day 80 she ideally will be bred back, and than her body weight will continue to rise. Grain should rise as she peaks to meet her milk volume, than slowly decrease as it falls. If she goes into late stage lactation either too thin or on the alternate, overweight, she is being setup for metabolic problems. During the dry period I either cut grain off completely (during spring and summer grazing, when forage quality is high) or feed a 2 to 3 lb per head feeding rate during the fall and winter.
Transition refers to the time before estimated due date. This commonly starts at 3 weeks out from calving, and technically extends to 30 days in milk. This is my protocol.
1) stop salt access, as it increases the chance of edema.
2) feed either a high fiber, grassy hay or have her graze similar.
3) feed 3 lbs a day of our parlor grain (18 percent protein)
4) top dress with the negative DCAD Soy Chlor
Five to seven days prior to delivery her appetite will drop. If it is significant I give B Complex.
On this protocol I see very little metabolic problems. However I always give Bovikalc to…
A) an assisted birth
B) twins
C) a cow with a known history for metabolic problems (milk fever, metritis, ketosis)
Should she go down, IV calcium is the only way to get her back up.
A cow that has had milk fever typically never reaches her full potential in milk volume for that lactation.
Milk Fever – Prevention and treatment By Juliette Albrecht Read More »
Milking & Dairy
Maybe this is why we get less milk in the winter months?
https://www.bovinevetonline.com/news/education/light-can-have-huge-impact-milk-production
Is milk production like egg production? Submitted by Janelle Soja, Royal Fare Farm, OH Read More »
Milking & Dairy
Here is an interesting article from a fellow Dexter milker, Michele Parsley. Real facts about how it varies and why. Don’t forget, some of our cream stays behind and never completely separates, making two incredible products, cream and still some pretty creamy milk for drinking or making something else. Celebrate your Dexter milk and cream!
https://www.mountainheritagefarm.com/blog/cream-variation
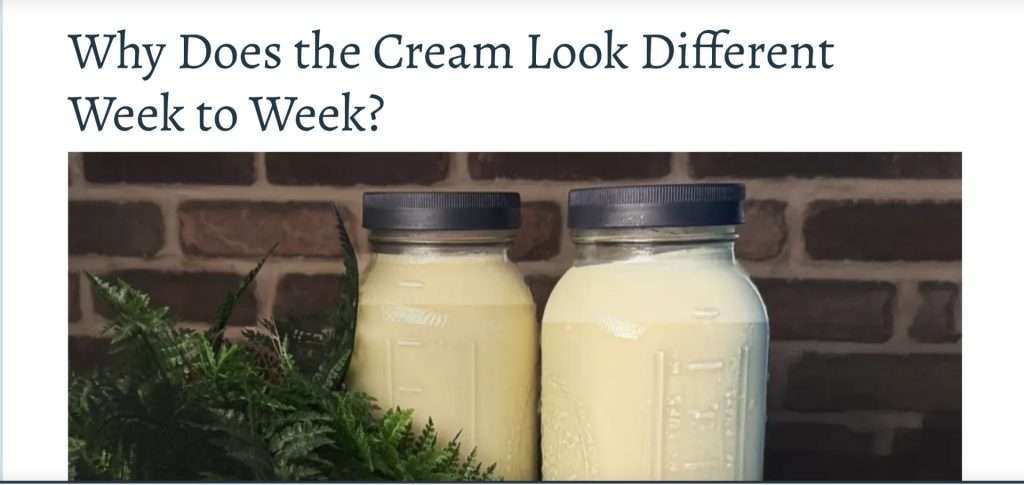
LET’S TALK CREAM AND DEXTERS Read More »
Milking & Dairy
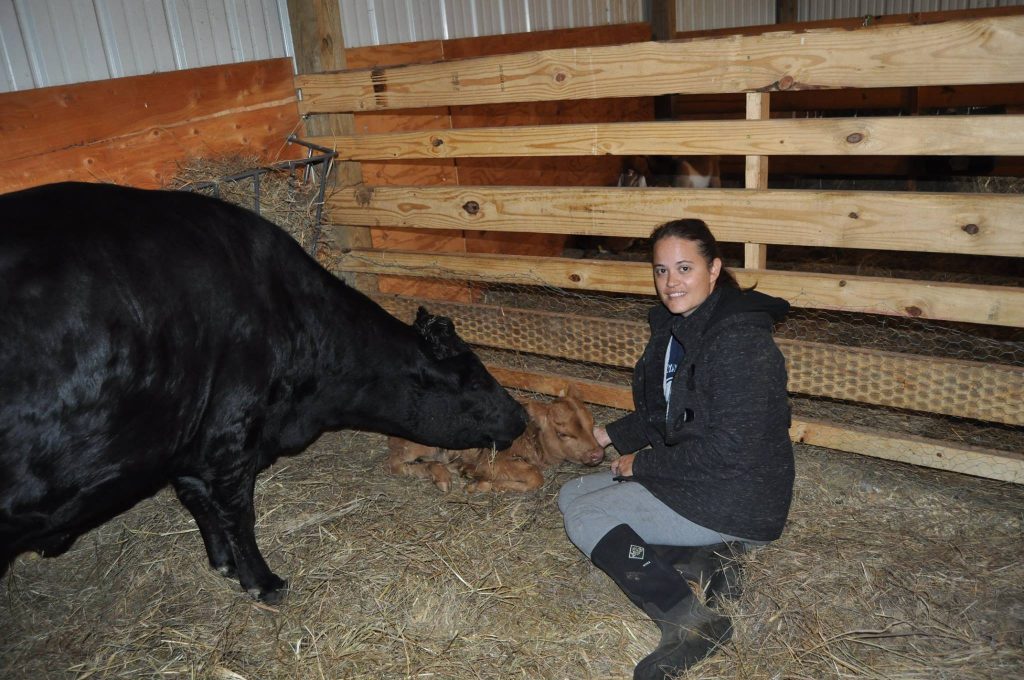
The year was 2015, and I had never touched a cow before buying one. I had read every book I could find and devoured countless online articles about cattle, but I had absolutely zero real-life cattle experience. Still, I knew one thing for certain: I wanted a milk cow. That single desire was all the motivation I needed to bring home my first Dexter cow, Cassandra, in March of that year.
Cassandra—quickly nicknamed MooMa—was due to calve soon, and I couldn’t bear the thought of her living alone for three months. Cattle are herd animals, after all, and MooMa needed a companion. Our budget was tight, so I bought a wild little black cull heifer named Maggie She wasn’t registered because her dam had been bred by a “steer” that had retained one testicle when he had been banded. Maggie was also A1A1 milk, which at the time was a big deal for us so we had no intention of keeping her long-term. Her future, as far as we were concerned, involved freezer camp.
Maggie arrived already overwhelmed. Shortly before coming to our farm, she had been vaccinated, dehorned, weaned, and then hauled to a new home with complete strangers. By the time she stepped off the trailer, she was terrified. Kevin and I stood watching in horror as Maggie calmly stepped between two strands of hot wire as if they didn’t exist—and just like that, she was gone.
MooMa, older and steadier, began calling for her. Before long, Maggie came trotting back, stepping right between the wires again as though that was perfectly normal. We quickly added a third strand of wire and spent the next week wondering what on earth we had gotten ourselves into.
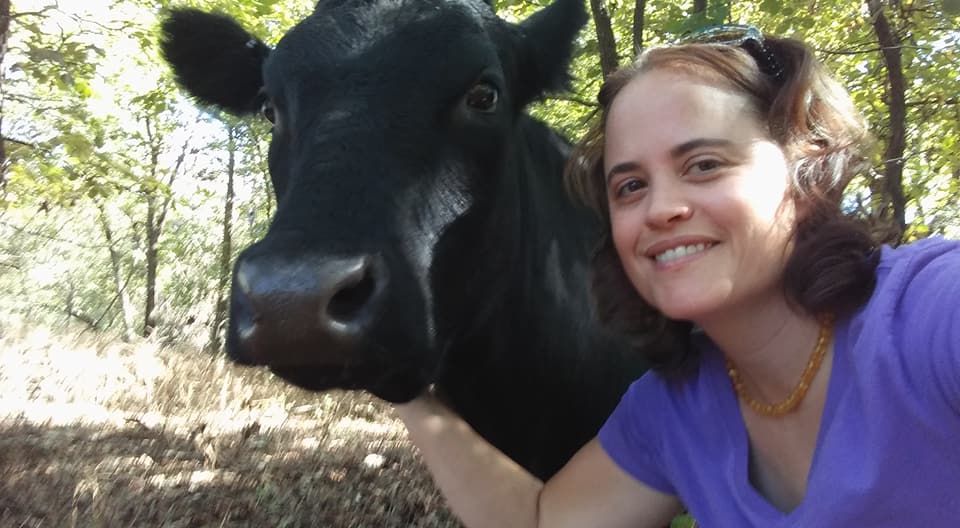
Maggie wouldn’t let us within fifty feet of her. Her fear seemed contagious, and soon MooMa didn’t trust us either. Time was ticking. I had just three months to turn MooMa into a milk cow. So every day—sometimes multiple times a day—I went out and simply sat in the pasture with them. Cattle are naturally curious. At first, they’d freeze and stare at me, clearly hoping that if they didn’t move, I wouldn’t notice them. But it didn’t take long for them to learn I wasn’t there to hurt them—and that I usually brought treats. Before long, my pasture visits became something all three of us looked forward to.
On June 10, 2015, MooMa gave birth to a little red bull calf we named Liberty. Five days later, I began milking her. The next nine months were a steep learning curve for both of us. I’d love to say she milked like a dream, but the truth is… quite the opposite. That story, however, is for another blog post.
When it came time to rebreed MooMa, my AI technician talked me into breeding Maggie as well. She had grown into a lovely little heifer and could, at the very least, provide us with beef. She was still mostly wild—nearly all my effort had gone into training MooMa—but Maggie didn’t need to be tame to reproduce, so we went ahead and bred her.
Throughout her pregnancy, Maggie came to the barn every single day. She stood quietly, watching me freequently dodge kicks and often times fight for every drop of milk from MooMa. What I didn’t realize at the time was that Maggie wasn’t just waiting for her “big sister” to finish—she was studying.
Fast forward several months. MooMa calved her second calf just days before Maggie had her first. Once again, I began milking MooMa, and once again, Maggie watched and waited.
Four days after Maggie calved, I walked into the barn expecting my usual routine and instead found Maggie standing squarely in the milk stanchion. She refused to leave. Waving my arms, yelling like a crazed person—nothing fazed her. Finally, exasperated, I looked at her and said, “Well, Maggie, I guess you’re going to be a milk cow today.” Fully expecting her to spook and bolt, I slammed my milk bucket loudly beneath her. She didn’t move. I washed her udder. Still nothing. When I finally grabbed a teat and squeezed, Maggie sucked in her gut and stood like a seasoned professional. No treats. No headgate. No kicks. No tantrums. This little black cull heifer wanted to be a milk cow.
Dexters are notorious for holding back their hind milk unless the calf is nursing. I’ve long accepted this and simply train calves to nurse on one side while I milk the other. But Maggie is different. She gives me everything she makes, trusting me to leave enough for the one thing she loves more than anything—her calf. When it’s time to wean, she handles it herself, yet she still comes to the barn every day, eager to be milked.
One year, while transitioning Maggie from a fall calving schedule to a spring schedule, I milked her for 380 days straight. In my book, that makes her a Super Cow. Maggie remained a cherished milk cow at MooShine Ridge for many years—a living reminder that sometimes the animals we least expect to keep are the ones who teach us the most.
About the Author:
Kimberly Jepsen is the heart behind MooShine Ridge in Vinita, Oklahoma, where she and her husband, Kevin, have been raising dual-purpose Dexter cows since 2015. Their little farm store is a labor of love, offering Dexter beef, raw milk, and artisan cheeses made from their own cows. Kimberly has a deep passion for the Dexter breed and loves nothing more than sharing what she’s learned over the years—whether it’s guiding fellow farmers, helping newcomers discover the joys of small-scale farming, or simply introducing people to the rich, creamy flavors of her handcrafted cheeses. For her, farming isn’t just a business—it’s a way to nurture animals, the land, and the community she cares about. https://mooshineridge.com/
From Freezer Camp to the Milk Pail: Maggie’s Story Read More »
Milking & Dairy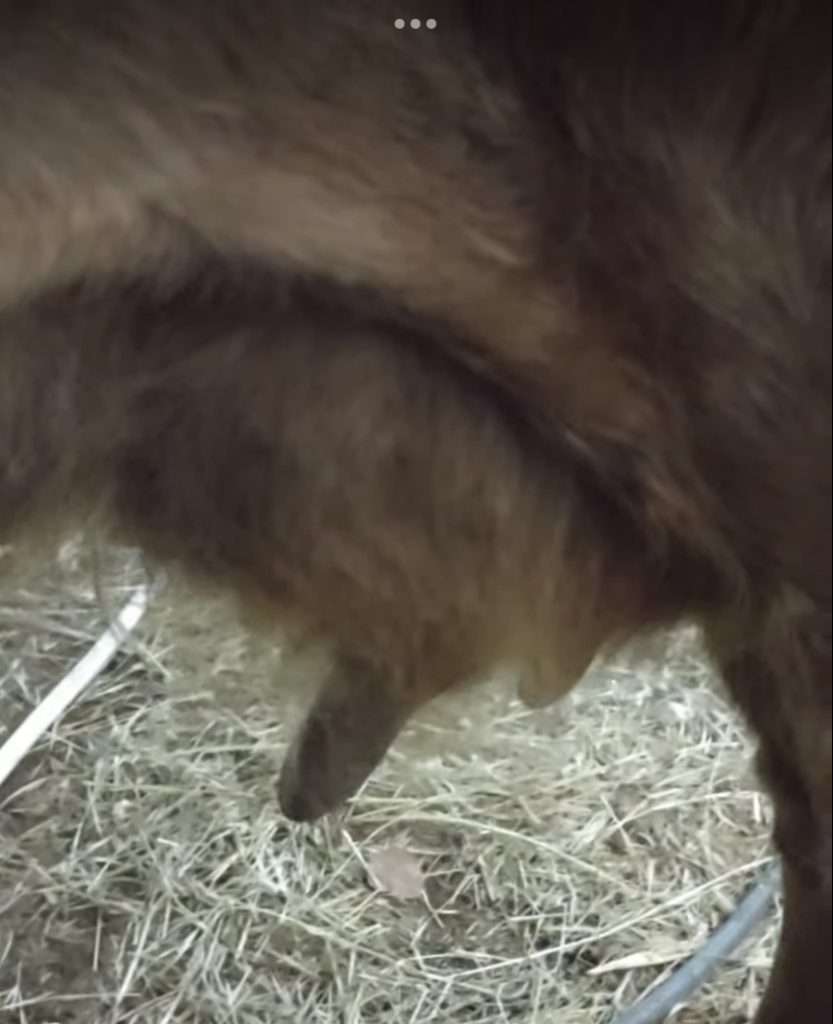
Let’s face facts. Some of our Dexter gals have some pretty hairy udders. All that hair is not something we want if we are trying to milk them and provide a clean product.
I use these handy dandy scissors pictured below, but some folks also use electric clippers, as in the short video below.
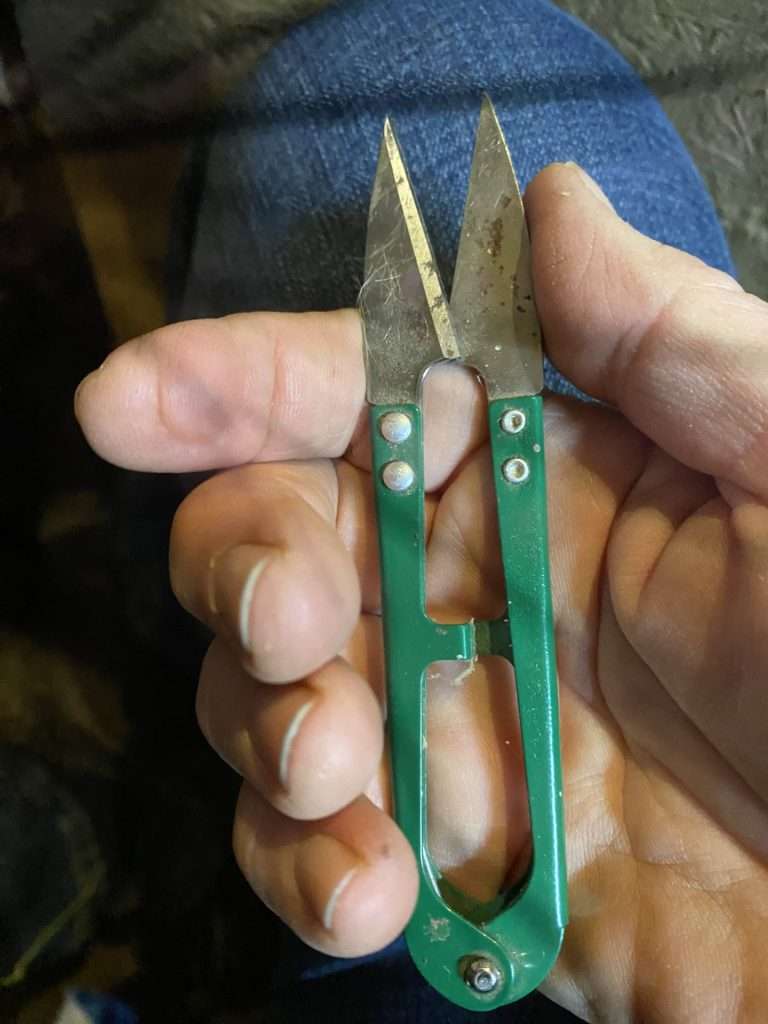
What ever method you choose, make sure you do it, it makes cleaning the udder sooo much easier!
Is Your Dexter Udder Hairy? Read More »
Milking & Dairy
The benefits of ensuring milk letdown has occurred include improved milking efficiency and max milk production.
https://www.dairynz.co.nz/milking/fundamentals/enhancing-milk-let-down/
Enhancing Milk Let-Down Read More »
Milking & Dairy
We now know that paying top dollar will come back to us. We no longer look at price. A healthy cow will give us many lactations to come.
How Can A Milk Cow Pay for Herself? Read More »
Milking & Dairy
Pasteurization is a personal choice! This history behind is interesting. Seems like the movement now is for smaller homestead dairies, selling to local folks. Give a listen, she gives many perspectives!
Pasteurization …The History Behind it. Read More »
Milking & Dairy
Knowing the value of your milk, can help you value the products you make from your milk. Here is one person’s breakdown.
There is a wide range of raw milk dairy prices across the board, but how do you know your prices make sense based off a gallon of milk?
Here is a simple breakdown on price setting costs!
Starting point:
Milk value $15/gallon = $7.50/half gallon = $3.75/quart = ~$0.94/cup.
This is your base price to compare against, you can enter any value and adjust accordingly.
Pricing based on your $15/gal milk:
• Butter: $20–$25/lb
• Buttermilk: $5–$6/qt
• Cream: $12–$15/pint
• Yogurt: $5–$6/qt
• Fresh Cheese: $15–$20/lb
• Aged Cheese: $50–$80/lb
As always, know your state regulations for dairy.
Know your farmer.
Shop local.
Barter when you can!
Need Help Pricing Your Dairy Products? By Sunstone Orchard & Rabbitry. Read More »
Milking & Dairy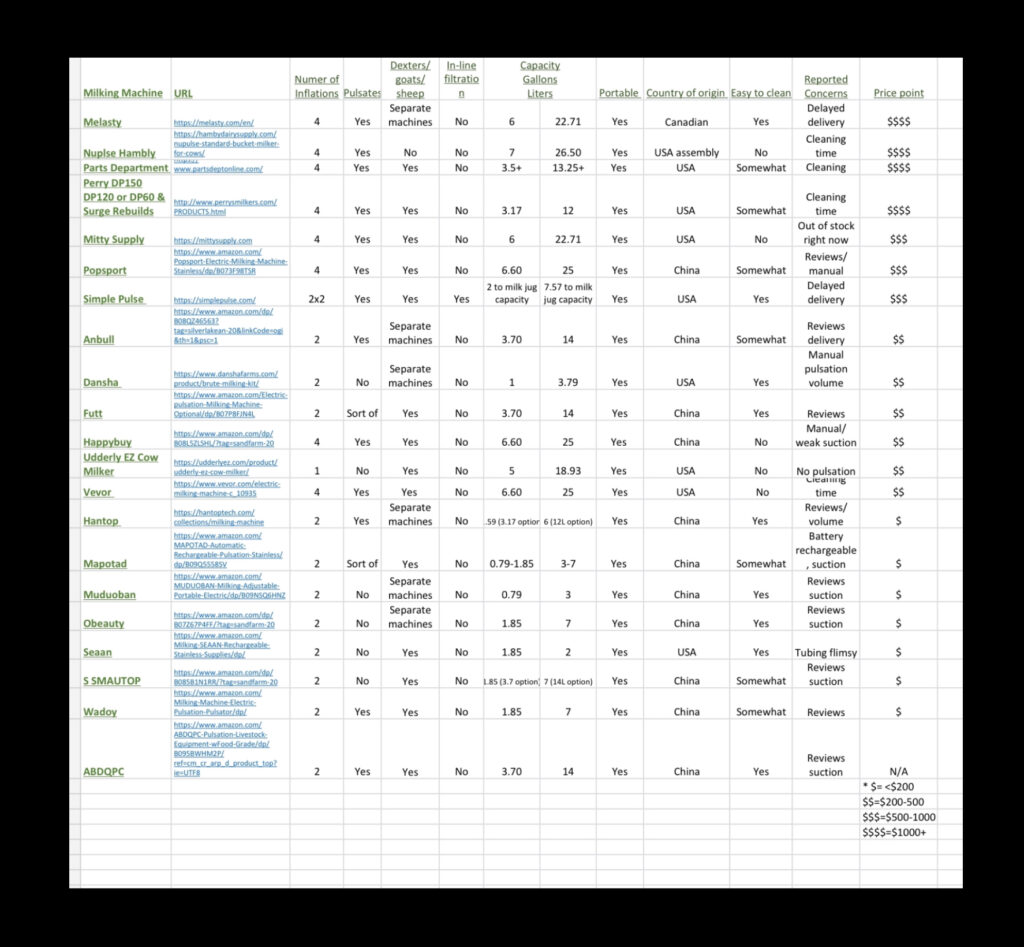
The milking machine market can be so confusing. In an effort to help you wade through what is currently on the market, I created this spreadsheet.
For the budget conscious, make sure that it has a true pulsation, an added bonus is ease of cleaning.
While I have tried to include everything on the market, I am sure I have missed a few.
https://1drv.ms/x/c/c79950faab991348/EUgTmav6UJkggMeSOwAAAAABhxnazfsIBA0-qpk3ObFlAQ
It’s tangy, it’s creamy, and it’s full of active probiotics: it’s kefir! – Submitted by Riley Wohlgemuth
https://www.maplehill.com/post/what-is-kefir-its-health-benefits-history

Why You Should Eat It, and How To Make It – Submitted by Riley Wohlgemuth
Clabber Milk – What It Is Read More »
Milking & Dairy
There was a Raw Milk Summit in Bon Aqua, TN. Several guest speakers included politicians, local producers and Dr. Ken Berry. This video is of the organizer Dawn Gorham of The Gorham Homestead.
She has an interesting story and message for people who are trying to sell their milk thru herd shares in Tennessee. You will need to check your State Laws, but has some great advice for everyone.
Raw Milk Summit in Tennessee Read More »
Milking & Dairy
I believe that you should learn to hand milk your Dexters and other dairy animals. For me the journey was to master hand milking. I moved on to a machine after I was milking several Nubians and Dexters. My body was telling me I needed help.
I have never regretted this, as you have to strip out after the machine and I am prepared for days with no power.
Here is a podcaster from the Family Milk Cow and her perspective.
Man vs Machine When Milking a Cow Read More »
Milking & Dairy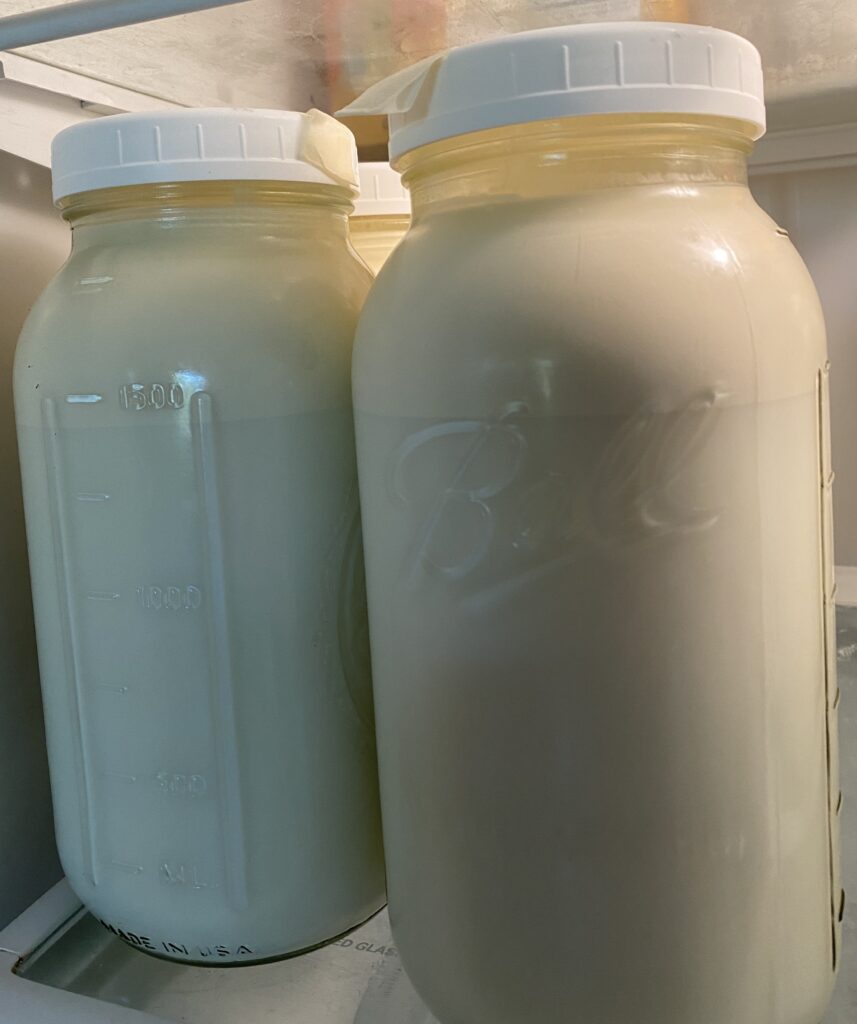
By Eliena Bodtke, Stay’N Put Farm
Since many of us are homesteaders or practice some kind of preserving, I thought I would take a moment to discuss an alternative to canning, pressure canning and dehydrating.
Are you scratching your head, thinking where is she going with this?
Consider freeze drying. While the initial cost seems daunting, it really is an excellent way to preserve your Dexter milk, yogurts, cheeses, colostrum and beef for 25 YEARS! Think about when you’re over loaded with one veggie or another during gardening season. The veggies, herbs or eggs when they are abundant, can be frozen and put into the freeze dryer anytime. We still can and pressure can, but this gives us a whole new option.
We purchased a medium Harvest Right about a year and half ago and have been amazed at all the things we can preserve….it is less time consuming and in our opinion, and better quality product in many cases.
Canning of dairy is frowned upon by the USDA and in some cases consider unsafe, although people do it. Freeze drying on the other hand, processes the dairy at lower temperatures and therefore does not pasteurize it…so if raw is your goal, it is good alternative. If you pasteurize, you still follow the same method. We pour a quart of milk on each tray and let the machine do its thing. We have done it both with cream in and cream out…the choice is yours. We find it needs to be blended when reconstituted, or another favorite is dry in our coffee, just like coffee creamer!
If you’re into selling, freeze dried milk and other products can be a good source income. Take a look at the price of powdered milk in the store! It is not uncommon to see freeze dried milk for $30-40 a gallon. Let’s clarify this. One gallon of freezer dried milk reconstituted into one gallon of drinkable milk…almost quadruples in price.
And don’t forget your Dexter beef! Consider this scenario….you have some cuts left from your last processing and you would really like to eat it before you get into the next one. Well, freeze dry it and then you have preserved it for 25 years. It makes great gifts, as it is so light to ship.
How do you use this freeze dried beef? We like to pour some of our Dexter bone broth over it. Let it sit in refrigerator over night and then use it in the next day or so. The beef will only absorb as much broth as it can. It doesn’t get mushy, which can happen with veggies. Cook with it like you usually do.
Hope this article helps you on your farm, ranch or homestead. I just love this technology and thought I would share.
Preserving Irish Dexter Dairy and Beef Read More »
Beef Milking & Dairy
Make sure you’re collecting it!
Submitted by Katie Sears
https://www.cnn.com/2024/08/27/health/colostrum-supplements-pros-cons-wellness/index.html
Liquid Gold Trend! Read More »
Milking & Dairy
This the name used to describe chèvre cultured cow milk. Traditionally made chèvre is done with goat milk, but the process can be made with cow and sheep milk also. When made with sheep milk it is called brebis. We have experienced all three and love each of them. Give it a try and see what you think.
HAVE YOU EVER HEARD OF BOVRE? Read More »
Milking & Dairy
Not everyone is comfortable with consuming raw milk. No need to buy an expensive pasteurizer if you have an instant pot in your kitchen. This article covers a few ways of doing pasteurization in your home. It can be done even if you don’t have the yogurt button, but it definitely makes it easier if yours does.
DID YOU KNOW AN INSTANT POT CAN PASTEURIZE YOUR RAW MILK? Read More »
Milking & Dairy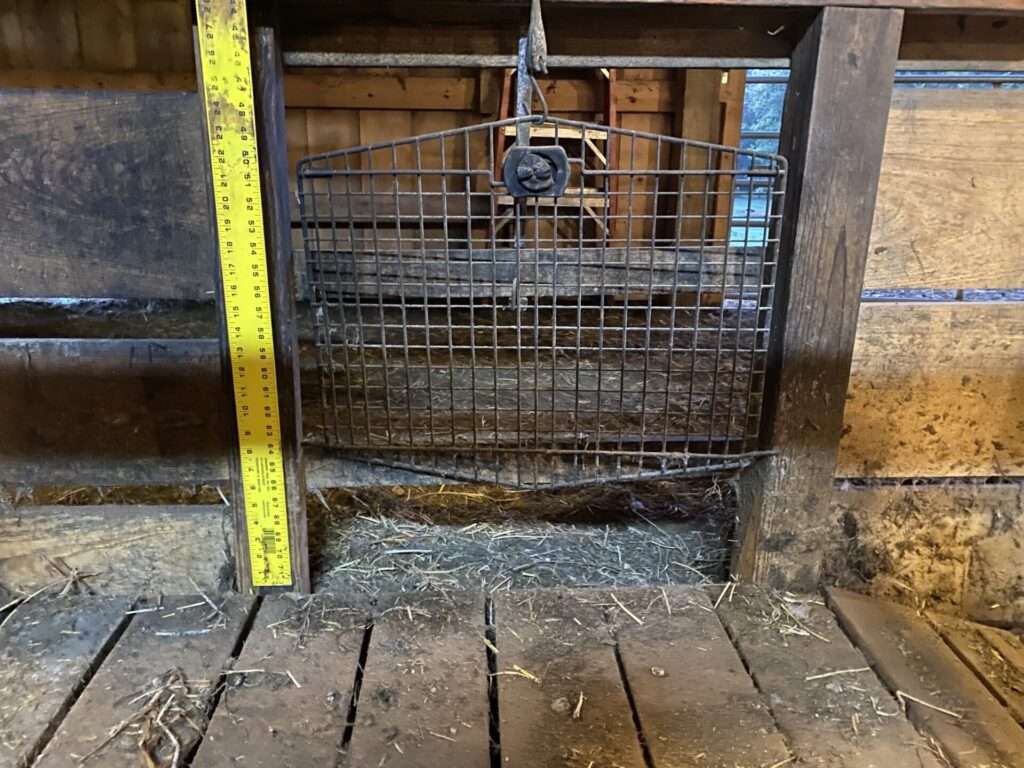
For the first time milker or the heifer that is getting milked for the first time, there are some important things to remember for success. The article below goes over some of the basics.
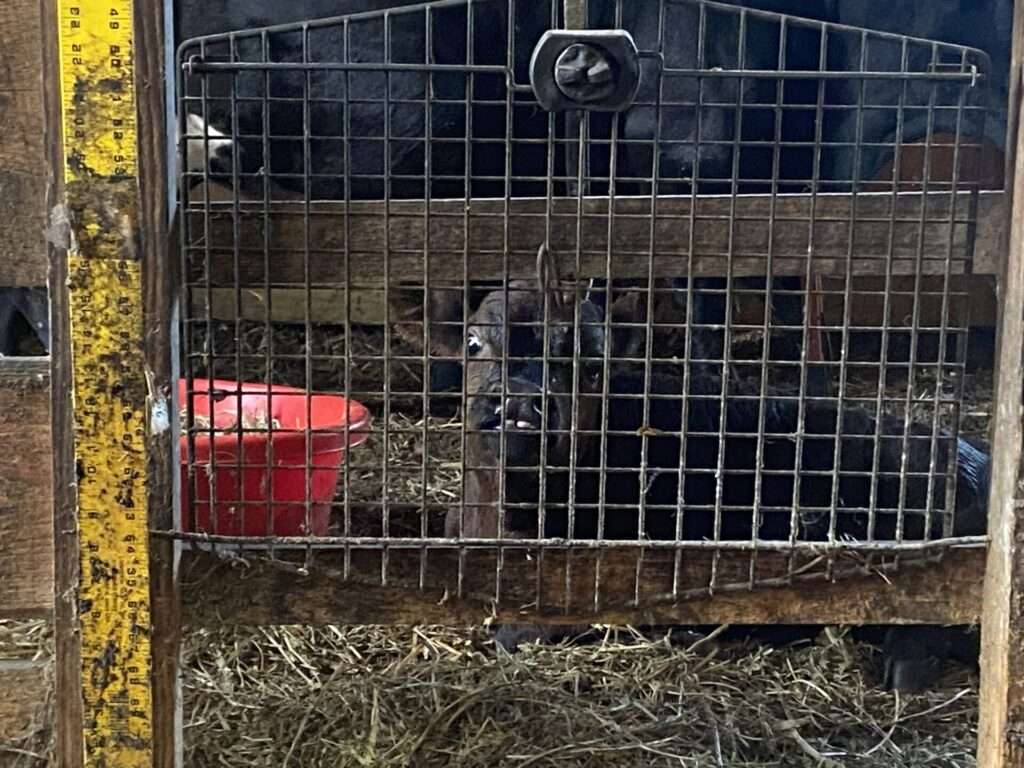
We have, thankfully, only had a few that were very stubborn. We found that putting the calf in front of the cow, so she can see it helps…but when nothing works…we have reverted to letting the calf nurse one side for a short time. I do say short time, as they can drain their moms with amazing speeds.
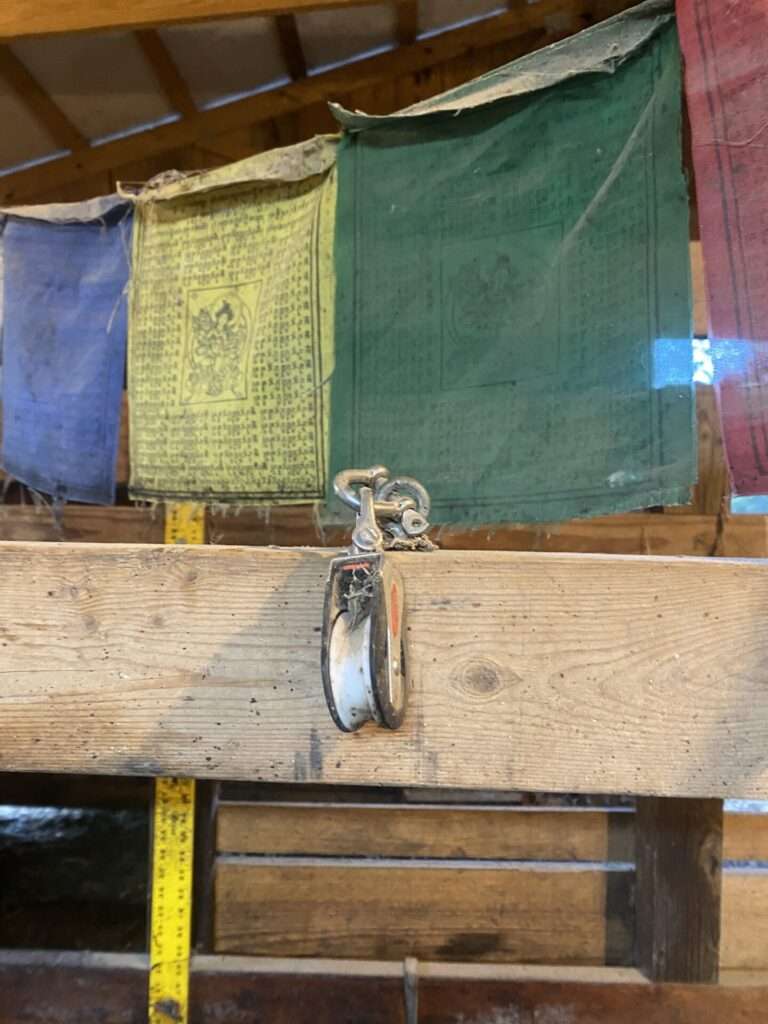
I have included photos of our calf let down gate to give you some ideas that have worked for us. You can see the calf thru the little gate on the first photo. On the second photo you see the pulley. When we need to use this system…which we thankfully have only had to a few times, we tie a rope the the gate, un hook the bungee, feed the rope thru the pulley and the whole gate goes up and down so we can quickly drop it once mom starts to let down.
MILK LET DOWN – HINTS AND TRICKS Read More »
Milking & Dairy
In Germany, a new wave of farm-to-table convenience is flowing through vending machines — quite literally. Across rural towns and even urban neighborhoods, you’ll find self-serve milk vending machines that dispense fresh, unprocessed milk straight from local farms. Open 24/7, these machines let customers refill their own bottles with creamy, cold milk at any time of day, reducing packaging waste and shortening the distance between farm and consumer.
Typically placed at the edge of dairy farms, village centers, or community markets, these vending machines are restocked daily with milk collected directly from the cows. Customers simply insert a coin or swipe a card, place their bottle under the nozzle, and watch as fresh milk fills it up — often still warm from the morning’s milking, or chilled for instant use.
Many stations also provide reusable glass bottles for purchase, encouraging zero-waste habits. Some even display details about the farm, the cows’ diet, and the time of last milking — giving full transparency in a world often disconnected from food sources.
These milk stations are more than just a novelty — they’re a return to tradition with a modern twist. By cutting out the middlemen and minimizing processing, Germany’s milk vending machines support small farmers, reduce emissions, and give people access to wholesome, local dairy with the push of a button.
Credit: Organic living
Milk dispensers in Germany…interesting …wonder what breeds of cattle are behind this. Read More »
Milking & Dairy
” The disease can be treated with antibiotics and supportive measures. The mastitis can be prevented by taking adequate measures like maintaining udder hygiene, sanitation of the cow barn, clean food and water supplement, and maintaining a milking schedule.”
If you are looking for a more holistic approach, there is another article in the Gazette about homeopathy and mastitis.
Mastitis …while not common in Dexters an ounce of prevention can go a long way. Read More »
Milking & Dairy
REPRODUCTION AND AI
For those interested in learning more about the bovine reproductive cycle and how we manipulate it, here is a basic summary.
Bovine Estrous Cycle Physiology
The bovine estrous cycle typically consists of 21 days, plus or minus a few days in each direction. Estrus is the period where the cow is receptive to the male or in a standing heat (not to be confused with estrous). Estrus (or heat) typically lasts around 20 hours. Signs of estrus include vocalizing, standing to be mounted, clear discharge from the vulva, increased activity, etc. During the period of estrus, progesterone is low and estrogen is high. Luteinizing hormone (LH for short) also increases during estrus and is the hormone that initiates ovulation. Ovulation is the release of an ovum or egg from the ovary. Ovulation actually occurs 10-15 hours after the end of estrus, in a period called metestrus. Metestrus lasts 3 to 5 days. During this period, an early corpus luteum (CL) is also forming. So where did this CL come from? It came from ovulation! When the ovary releases an egg, the left over structure on the ovary becomes the CL. During metestrus, you may notice a slightly bloody discharge from her vulva. Progesterone is still low during this period but it is starting to rise. The growing CL is actually what is producing the progesterone, and as it grows in size and maturity will be able to produce more progesterone.
As the CL continues to mature, we enter the phase of diestrus. At this point progesterone is high and this period lasts about 12 days.
Next up is proestrus. At this point in the cycle, the CL is regressing and progesterone is decreasing. Estrogen and LH do not like progesterone. They cannot increase until progesterone is low which is why they are increasing at this point as the CL is regressing. Estrogen and LH are increasing and getting the egg on the ovary ready to be released. Then the cycle starts all over again with estrus!
So basically, during heat LH initiates the egg to be released and the leftovers become a structure called a CL that produces progesterone. That CL will grow and produce more progesterone but will eventually fade away. This allows estrogen and LH to increase again and produce another egg.
In order to maintain a pregnancy, there must be a functioning CL. The high progesterone from the CL is what keeps the fetus from being aborted for the first few weeks.
Disclaimer: This is a very basic summary on the estrous cycle. There are other things going on (follicular waves, etc.) but in an effort to simplify things this includes only the major details.
Medications used to change the estrous cycle
Using medications to change the estrous cycle is super common. It can be used for synchronizing a herd to breed them at the same time, using a timed AI approach, or implanting embryos.
Lutalyse or PG: This medication lyses or destroys a CL. Because it gets rid of a CL, it also causes progesterone to decrease.
CIDR: This is an intravaginal device with slowly releasing progesterone. This will increase progesterone in the blood and stop LH and estrogen from increasing.
GnRH also known as Fertagyl or Factrel: This causes an LH surge and thus ovulation.
You’ll hear a lot that lutalyse will bring a cow into heat. While this can be true, it depends on where she’s at in the cycle. If it’s during diestrus where she has a mature CL, great! The CL will lyse, estrogen and LH will rise and then ovulation. If she is in metestrus or proestrus, lutalyse will do nothing for a young maturing or a regressing CL and she will not go back into heat any faster.
There’s many different AI protocols and what works best for you will depend on your cow, labor intensity desire, and cost.
Let’s start with AI on a natural heat. There’s a common AM PM rule when it comes to inseminating cattle. The rule basically states that when a cow comes into heat she should be AI’d 12 hours later. So she is in standing heat in morning, then AI in the evening and vice versa. If we think back to the estrous cycle, this makes sense. Estrus lasts about 20 hours and ovulation occurs 10-15 hours after the end of estrus. Cows typically come into standing heat around the middle of estrus. Let’s say hour 10. So then I would AI at hour 22. The cow should ovulate between hours 30 and 35. You don’t want to AI at the time of ovulation because the sperm have to go through a process before they can fertilize an egg. That process takes several hours. Early AI tends to lead to higher quality embryos but less of them for this reason. Whereas later AI can lead to higher chances of embryos but not great quality so lesser chance of an actual pregnancy. How long sperm last depends on the bull, extender used, and sexed vs conventional. Conventional should last about 24 hours. (Although I’ve played around with semen before and have had it last about 3 days in the fridge.) Sexed will last a little less than that so sometimes people with sexed semen will wait more like 16 hours vs 12 to account for that.
For timed AI…
Double ovsynch can be very useful for high producing first lactation dairy cows. It has about a 10% higher conception rate compared to regular ovsynch. That 10% difference is a little bit less as the cow gets older. The difference of double ovsynch from regular ovsynch is that you are presynchronizing the cow prior to AI to make sure she is at the ideal part of her cycle. For older cows, there’s also some evidence that 2 lutalyse injections 24 hours apart increases conception rates. The 2 injections basically make sure the CL is completely regressed. However, cons to the double ovsynch over regular is that it takes twice as long, more labor, and more drugs are used therefore increasing cost.
Ovsynch does not work as well in heifers. For heifers, I’m partial to 5 day CIDR. I included charts for double ovsynch, regular ovsynch, and 5 day CIDR.
For the girls that have a history of being more difficult to breed, I’ll always give a GNRH injection at time of breeding and AI again 12 hours later. I’ll also check the sperm. Just recently got a batch of brand new straws that only had 10% progressive motility.
I know that was a bunch of information to throw at everyone, so if you have any questions feel free to ask
or check out this site, which was used to write this article https://extension.psu.edu/timed-ai-protocols-double-ovsynch

A milk journey from Sweet Briar Farm Submitted by Janelle Soja
https://discover.texasrealfood.com/dexter-cattle/preparing-your-dexter-cow-for-milking
Preparing Your Dexter Cow For Milking Read More »
Milking & Dairy